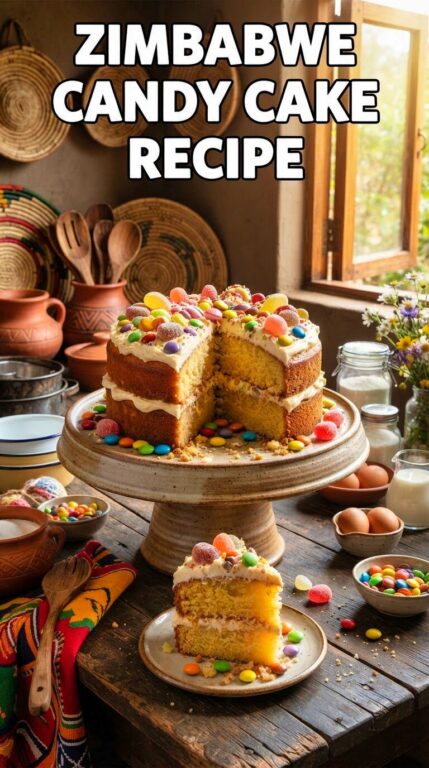
Zimbabwe Candy Cake recipe is a simple, slightly sweet yeast-based treat—kind of a cross between a bun and a cake—that lights up any tea time. If you’re after a Zimbabwe Candy Cake that actually works and gives you those soft, pillowy cakes with the classic pink glaze, you’re in the right place. I’ll lay out the steps and throw in some technique tips along the way.
As you go, you’ll see where this treat comes from and how tiny choices—like how you wake up your yeast, how soft you let the dough get, or which pan you grab—really change the final texture. I’ll share some practical advice for getting that authentic look and tender crumb, because, honestly, nobody wants a dry Zimbabwe Candy Cake recipe.
Origins and Evolution of the Zimbabwe Candy Cake
Candy Cake, or chikenduza, comes straight out of everyday Zimbabwean baking, where folks use pantry staples and a splash of celebratory color. The Zimbabwe Candy Cake recipe borrows a bit from British-style baking—think yeast-raised dough—but mixes in local preferences for sweet, brightly iced pastries. It’s a mashup that just works.
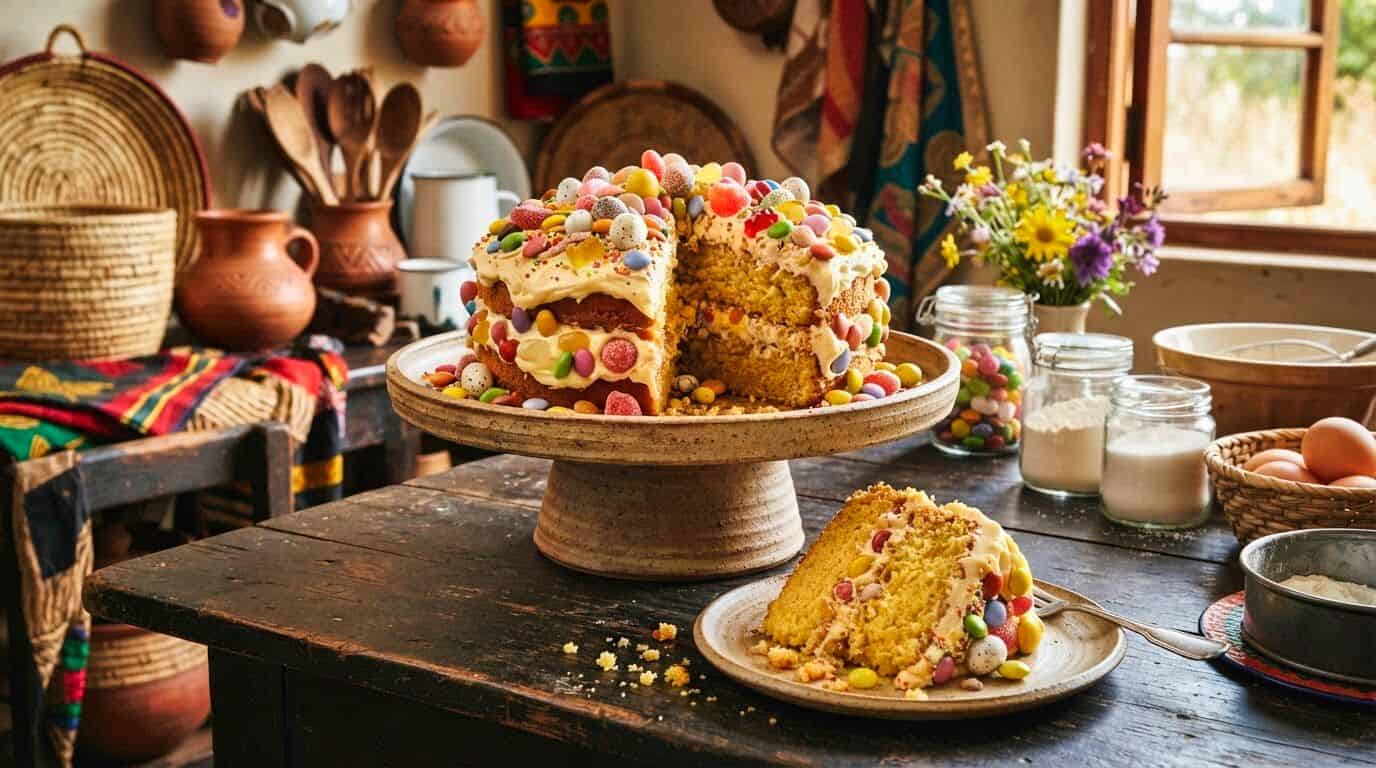
People started with basic flour, butter, sugar, milk, and yeast, shaping the dough into rounds and baking them up for breakfast or tea. Then came the vivid pink icing—that festive, almost cheeky finish that takes a plain bun and turns it into something you want to show off. The Zimbabwe Candy Cake recipe has stuck around for a reason.
There’s a lot of variety, honestly. Some home bakers load up the dough with eggs and more butter for extra softness, while others keep their Zimbabwe Candy Cake recipe simple and more bun-like. Sometimes folks swap food coloring for natural dyes or toss in vanilla for a little aroma. It’s not set in stone, and that’s part of the fun.
The cake’s social role matters as much as what goes into it. You’ll see chikenduza at gatherings, school events, or weekend markets—anywhere a cheap, cheerful treat is welcome. Its bright look and affordability make the Candy Cake recipe a favorite. If you want a home-style version with a bit of context, check out this Zimbabwe Candy Cake recipe overview. And honestly, who could blame you for wanting a batch right now?
Techniques for Achieving Perfect Texture
Start by controlling your yeast—use warm (not hot) milk, and proof the yeast until it turns foamy. That’s your sign the dough will rise well and give the Zimbabwe Candy Cake recipe its signature tender crumb.
After the first rise, handle the dough with care. If you overwork it, you’ll knock out all the good air and end up with a dense cake. Just fold and shape it gently—let those air pockets stay put. It’s one of those little things folks sometimes rush, but it really matters for a Zimbabwe Candy Cake recipe.
Weigh your flour if you can. Too much flour? Suddenly your Zimbabwe Candy Cake recipe is heavy and dry. A kitchen scale isn’t fancy, just practical—it keeps things consistent, and who doesn’t want that?
Let your butter and eggs come to room temperature before you start. Cold stuff just doesn’t blend well and can mess with the crumb. Soft, spreadable butter makes a difference, especially with a Zimbabwe Candy Cake recipe.
Bake in well-greased muffin tins or small pans for even heat. If your oven’s a bit quirky (whose isn’t?), rotate the pans halfway through. You’re aiming for an even color and that just-right texture every Zimbabwe Candy Cake recipe deserves.
Brush the tops with a simple sugar syrup or glaze right after baking. It locks in moisture and keeps your Zimbabwe Candy Cake recipe soft, without messing up the crumb.
Let the cakes cool in the tin for a few minutes, then move them to a wire rack. If you leave them in too long, trapped steam will soften the outside—not ideal. Cooling on a rack helps keep the crust and interior just how you want for a Zimbabwe Candy Cake recipe.
One last tip: If you’re baking in a humid place, cut back the liquid a tablespoon at a time if the dough feels sticky. Tiny tweaks like this help the Zimbabwe Candy Cake recipe stay true to its classic, soft, slightly bready vibe. Honestly, each batch might need a little adjustment—baking’s a bit of an art, isn’t it?
Don’t forget, the Zimbabwe Candy Cake recipe isn’t just about following steps—it’s about getting a feel for the dough, trusting your instincts, and enjoying the process. Try it, tweak it, and make it your own. After all, that’s half the fun of baking a Zimbabwe Candy Cake recipe.
Zimbabwe Candy Cake Recipe
Ingredients
- 2 teaspoons dry yeast active
- 3/4 cup sugar
- 1/2 cup warm milk
- 2 1/2 cups all-purpose flour
- 1/4 cup butter softened
- 2 tsp vanilla extract
- 1 egg large
- 1/4 teaspoon salt
- 1 cup sugar powdered
- 1-2 Tbsp water
- red food coloring
Equipment
- Cake pan
- mixing bowl
- small bowl
- Spatula
- Oven
Instructions
- a. Measure out 2 teaspoons of active dry yeast.
- b. Pour 1/4 cup of warm milk into the bowl with yeast.
- c. Stir the mixture gently to combine.
- a. Measure out 3/4 cup of sugar and add it to the mixing bowl.
- b. Add 1/4 cup of softened butter to the bowl.
- c. Pour 2 teaspoons of vanilla extract into the bowl.
- d. Crack one large egg and add it to the mixture.
- e. Mix all the ingredients together until they form a smooth and creamy texture.
- a. Pour the yeast mixture into the large mixing bowl with the other ingredients.
- b. Stir the contents thoroughly until you have a well-mixed batter.
- a. Measure out 2 1/2 cups of all-purpose flour.
- b. Slowly add the flour to the batter while stirring continuously.
- c. Mix until there are no visible lumps in the batter.
- a. Measure out 1/4 teaspoon of salt.
- b. Sprinkle the salt over the batter and mix it in.
- a. Place a clean kitchen towel over the mixing bowl to cover it completely.
- b. Allow the batter to rest undisturbed for approximately 1 hour.
- a. Set your oven temperature to 350°F (180°C).
- a. Use butter to grease the cake pan evenly.
- b. Alternatively, place parchment paper inside the cake pan.
- a. Gently pour the batter into the cake pan.
- b. Use a spatula to spread the batter evenly across the pan's surface.
- a. Place the cake pan in the preheated oven.
- b. Set a timer for 25 minutes and check for doneness by inserting a toothpick into the center. If it comes out clean, the cake is ready.
- a. Measure out 1 cup of powdered sugar and place it in a bowl.
- b. Add 1-2 tablespoons of water to the powdered sugar.
- c. Mix the ingredients until the icing reaches a smooth consistency.
- d. Add a few drops of red food coloring to the icing and mix until you achieve the desired color.
- a. Take the cake out of the oven.
- b. Let the cake cool in the pan for a few minutes.
- a. Carefully drizzle the icing over the cake's surface, ensuring it covers the entire top.
- a. Let the icing set for a few minutes to avoid it from being too runny.
- b. Slice the cake into portions and serve it to your delighted guests.
Notes

Recipes are gathered in person and written for real-world cooking conditions.
- Zimbabwe Sadza Recipe - July 4, 2026
- Zimbabwe Kapenta Recipe - July 4, 2026
- Zimbabwe Chicken Stew Recipe - July 4, 2026