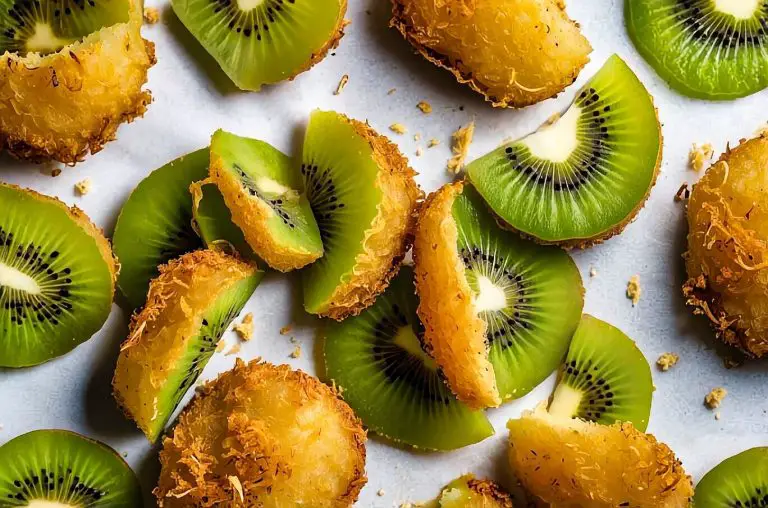
New Zealand Kiwi Crisps Recipe: When I think of delightful snacks that capture the essence of New Zealand, Kiwi Crisps always come to mind.
These moreish treats are perfect for morning tea, combining the unique flavor of kiwifruit with a crunchy, satisfying coating. Whether you’re entertaining guests or just enjoying a quiet morning, this recipe is sure to impress.
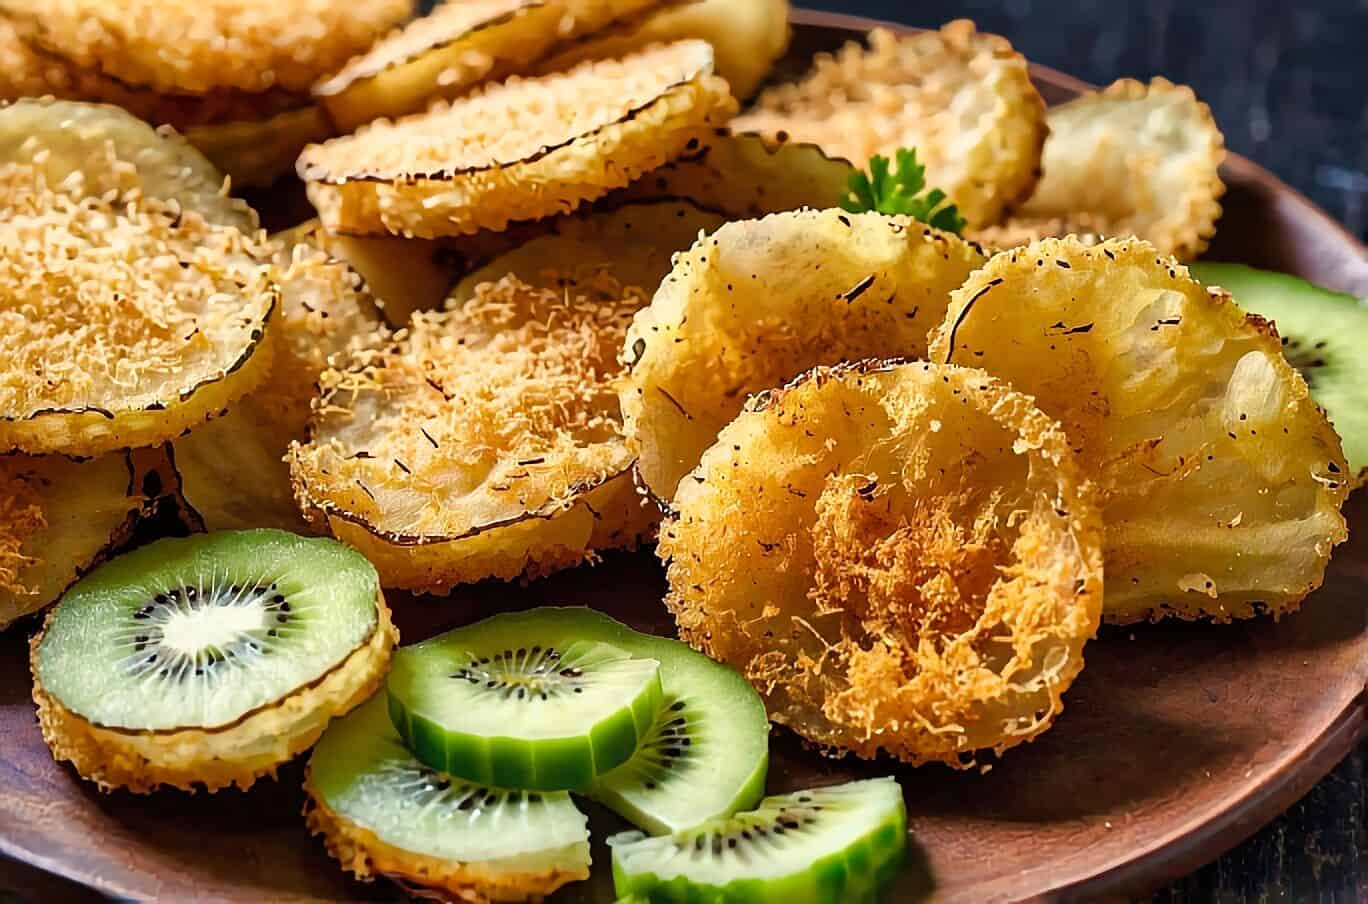
I love how easy it is to whip up a batch of Kiwi Crisps. The process involves just a few simple steps, and the result is a deliciously crispy snack that’s great to share.
Just imagine serving these alongside a hot cup of tea, bringing a taste of New Zealand to your own kitchen.
If you’re ready to try something new and delicious, I guarantee that this Kiwi Crisps recipe will become a favorite. Let’s dive into the recipe and bring a touch of New Zealand into our homes!

Key Ingredients
When making New Zealand Kiwi Crisps, selecting the right ingredients is crucial. Each component contributes to the flavor and texture of the final product.
Choosing the Right Flour
For my Kiwi Crisps, I find that using all-purpose flour works best. It provides the right consistency to create that soft yet crunchy texture.
Using high-quality flour ensures that the dough binds well. I avoid using any self-raising flour because it can alter the desired density of the crisps.
When measuring flour, I prefer to spoon it into the measuring cup and level it off with a knife. This method helps prevent packing, ensuring I have the right amount for my recipe.
The Importance of Quality Butter
Butter plays a major role in creating rich, flavorful Kiwi Crisps. I always choose unsalted butter for better control over the recipe’s saltiness.
For the best results, I let the butter come to room temperature before creaming it with sugar. This practice helps achieve a light, airy texture.
It’s worth noting that using high-fat butter results in a richer flavor, which enhances the overall taste. I often go for brands that emphasize quality and freshness.
Types of Sugar to Use
When it comes to sugar, I usually opt for granulated sugar in my Kiwi Crisps. It not only sweetens but also contributes to the perfect texture.
Sometimes, I’ll experiment with a bit of brown sugar for added moisture and depth of flavor. I find that a combination of both sugars can yield delightful results.
Measuring sugar carefully is essential. I prefer using a scale for accuracy whenever possible, especially if I’m aiming for a specific texture.
Why Use New Zealand Kiwi
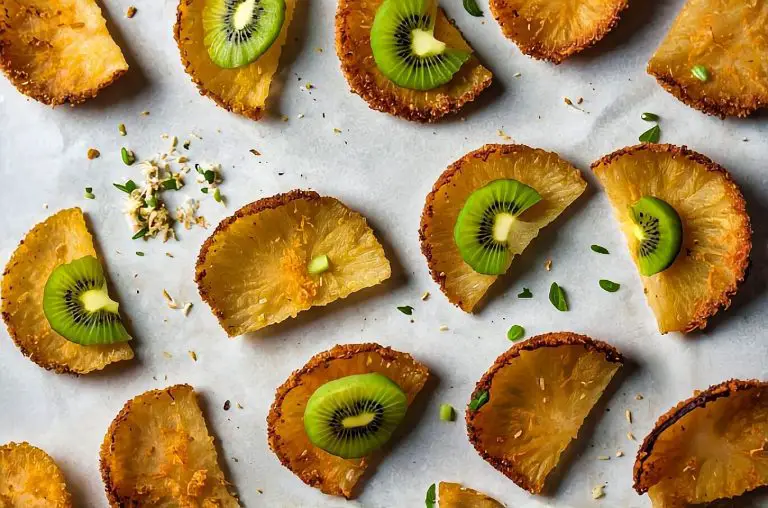
The star of the recipe is, of course, the kiwi. Using fresh New Zealand kiwi adds an authentic taste that sets my crisps apart. These kiwis are known for their vibrant flavor and juicy texture.
I often slice the kiwis thinly to ensure they bake evenly alongside the other ingredients. Freshness matters here, as ripe kiwis significantly enhance the final product’s flavor and appearance.
Whenever possible, I make sure to source kiwis that are in season, as this guarantees the best taste and quality for my Kiwi Crisps.
Preparing Your Baking Station
Setting up my baking station effectively makes the process smoother and more enjoyable. By organizing my ingredients and tools before I begin, I create an efficient workspace that minimizes confusion.
Measuring Ingredients Accurately
Accurate measurement of ingredients is crucial for the success of my Kiwi crisps.
I use standard measuring cups for dry ingredients like flour and sugar, ensuring I level them off with a straight edge for precision.
For wet ingredients, I prefer using a liquid measuring cup with clear markings. It helps to pour slowly and check at eye level.
Here’s a quick checklist to ensure accuracy:
- Use separate cups for dry and liquid ingredients.
- Scoop flour gently rather than packing it down.
- Pour sticky ingredients like honey or syrup gradually for precise amounts.
These small practices really make a difference in the outcome of my recipe.
Line Baking Trays with Baking Paper
Lining my baking trays is another essential step in preparing my station. I cut pieces of baking paper to fit each tray perfectly. This prevents the Kiwi crisps from sticking and makes cleanup much easier.
I make sure to press the paper down into the corners and edges for a snug fit.
To enhance the non-stick properties, I occasionally give the baking paper a light spray of cooking oil. Here’s how I do it:
- Cut the baking paper to size.
- Place it on the tray and smooth out any wrinkles.
- Lightly spray with oil if needed.
This step also allows me to transfer the crisps seamlessly after baking.
Preheating the Oven
Preheating my oven is a step I can’t skip.
I set it to 180°C (350°F) well ahead of time, ensuring it reaches the correct temperature for even baking.
As I grate or prepare ingredients, I make it a habit to check the oven’s readiness.
To do this effectively:
- Turn the oven on as soon as I start measuring ingredients.
- Allow at least 10-15 minutes for preheating.
- Use an oven thermometer if accuracy is crucial.
With a properly preheated oven, I’m guaranteed that my Kiwi crisps will bake evenly and achieve that delightful crispiness I love.

Step-By-Step Baking Instructions
Baking Kiwi Crisps is a delightful process that involves mixing dry ingredients, creaming butter and sugar, and folding in flavors. Each step builds on the last to create a tasty treat that showcases vibrant kiwi and rich chocolate chips.
Mixing the Dry Ingredients
I start by gathering my dry ingredients.
In a large mixing bowl, I combine 1½ cups of flour and 2 teaspoons of baking powder.
It’s essential to sift these together well; this helps to create a lighter texture in the crisps.
I take a whisk and gently mix the flour with the baking powder to ensure they are evenly distributed. This step prevents clumping during the mixing process later.
A tip I find useful is to avoid overmixing. A light touch helps keep the mixture airy, which is key for the crisp’s texture.
Creaming Butter and Sugar
Next, I cream 2 cups of butter and ½ cup of sugar together in another bowl.
I like using room temperature butter as it blends more easily.
Using an electric mixer, I beat the mixture until it becomes pale and fluffy.
This process is important because it integrates air into the butter. The creaminess provides a light base for my Kiwi Crisps.
Once the mixture reaches a creamy consistency, I add 3 tablespoons of sweetened condensed milk and a splash of vanilla extract. It enhances the flavor and keeps the crisps moist.
Combining Wet and Dry Ingredients
After creaming my butter and sugar, I slowly combine my wet and dry ingredients.
I take the dry mixture and gradually fold it into the butter mixture.
It’s crucial to mix gently to maintain that airiness. I use a spatula to avoid overworking the dough and making it tough.
This is also where I might add a handful of chocolate chips, mixing them in thoroughly. They’ll add a rich sweetness that complements the kiwi beautifully.
Folding in the Kiwi and Chocolate Chips
Now comes the fun part—adding the kiwi!
I chop the kiwi into small pieces and fold them into my dough carefully.
I make sure that the kiwi is evenly distributed throughout. Each bite should have a bit of that fresh flavor.
I also fold in any remaining chocolate chips during this stage. The combination of tart kiwi and rich chocolate creates a wonderful flavor contrast that I really love.
Baking to Perfection
With my dough ready, I preheat the oven to 180°C (350°F).
I then scoop tablespoon-sized amounts of the mixture onto a lined baking tray, spacing them out so they have room to spread.
Using a fork, I gently press down on each ball to flatten them slightly. This makes for an even baking surface.
I bake the kiwi crisps for about 15 minutes, keeping an eye on them. They should turn a light golden brown on the bottom, indicating they’re ready.
Cooling on a Wire Rack
Once my kiwi crisps are out of the oven, I transfer them immediately to a wire rack.
This step is vital for cooling because it helps prevent sogginess from steam.
I let them cool for about 10-15 minutes. This wait is worth it as it allows the flavors to settle.
Ingredients For the New Zealand Kiwi Crisps Recipe
Butter
Sugar
Sweetened Condensed Milk
Vanilla Essence
Flour
Baking Powder
Chocolate

Cooking Instructions For the New Zealand Kiwi Crisps Recipe
Preheat the oven to 180°C.
Beat butter and sugar until pale and creamy.
Mix in sweetened condensed milk and vanilla.
Add flour, baking powder, and chocolate, mixing until a firm dough forms. Add extra flour if the dough is sticky.
Roll into balls and place on a greased tray, pressing gently with a fork.
Bake for 15-20 minutes, until golden.
Cool on a rack and store in an airtight container once cooled.
FAQ For the Traditional New Zealand Kiwi Crisps Recipe
Question: What are the key ingredients for the Traditional New Zealand Kiwi Crisps recipe?
A: The Traditional New Zealand Kiwi Crisps recipe requires fresh kiwis, sugar, and a dash of lemon juice. These ingredients are essential for creating the crispy, tangy treat.
Question: How do I make the Traditional New Zealand Kiwi Crisps recipe?
A: To make the Traditional New Zealand Kiwi Crisps recipe, you slice the kiwis thinly, sprinkle them with sugar, and bake them at a low temperature until they become crispy and golden.
Question: Can I use other fruits in the Traditional New Zealand Kiwi Crisps recipe?
A: While the Traditional New Zealand Kiwi Crisps recipe specifically uses kiwis, other fruits like apples or pears could be substituted to create a similar texture and flavor.
Question: How long do the Traditional New Zealand Kiwi Crisps take to cook?
A: The Traditional New Zealand Kiwi Crisps recipe takes about 2 to 3 hours to cook, depending on your oven and the thickness of the kiwi slices.
Question: Can I store the Traditional New Zealand Kiwi Crisps recipe for later?
A: Yes, you can store the Traditional New Zealand Kiwi Crisps in an airtight container for up to a week. This makes it a great snack that can be enjoyed later.
New Zealand Kiwi Crisps Recipe
Ingredients
- 1 oz Butter
- 1/3 cup Sugar
- 2 tbsp Sweetened Condensed Milk
- 1/2 tsp Vanilla Essence
- 1 1/4 cups Flour
- 1 tsp Baking Powder
- 1/2 cup Chocolate chopped
Instructions
- Beat butter and sugar until pale and creamy.
- Mix in sweetened condensed milk and vanilla.
- Add flour, baking powder, and chocolate, mixing until a firm dough forms. Add extra flour if the dough is sticky.
- Roll into balls and place on a greased tray, pressing gently with a fork.
- Bake for 15-20 minutes, until golden.
- Cool on a rack and store in an airtight container once cooled.
1 comment
I have tried a lot of fried food but Kiwi was something totally new to me and it was pretty good.