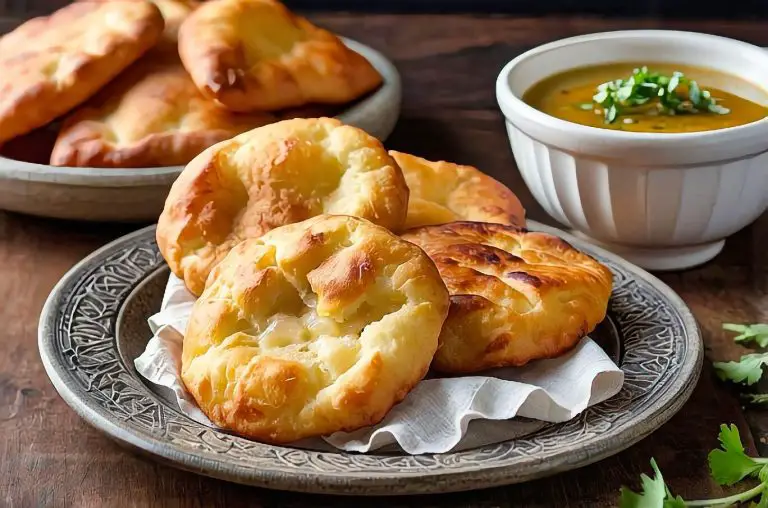
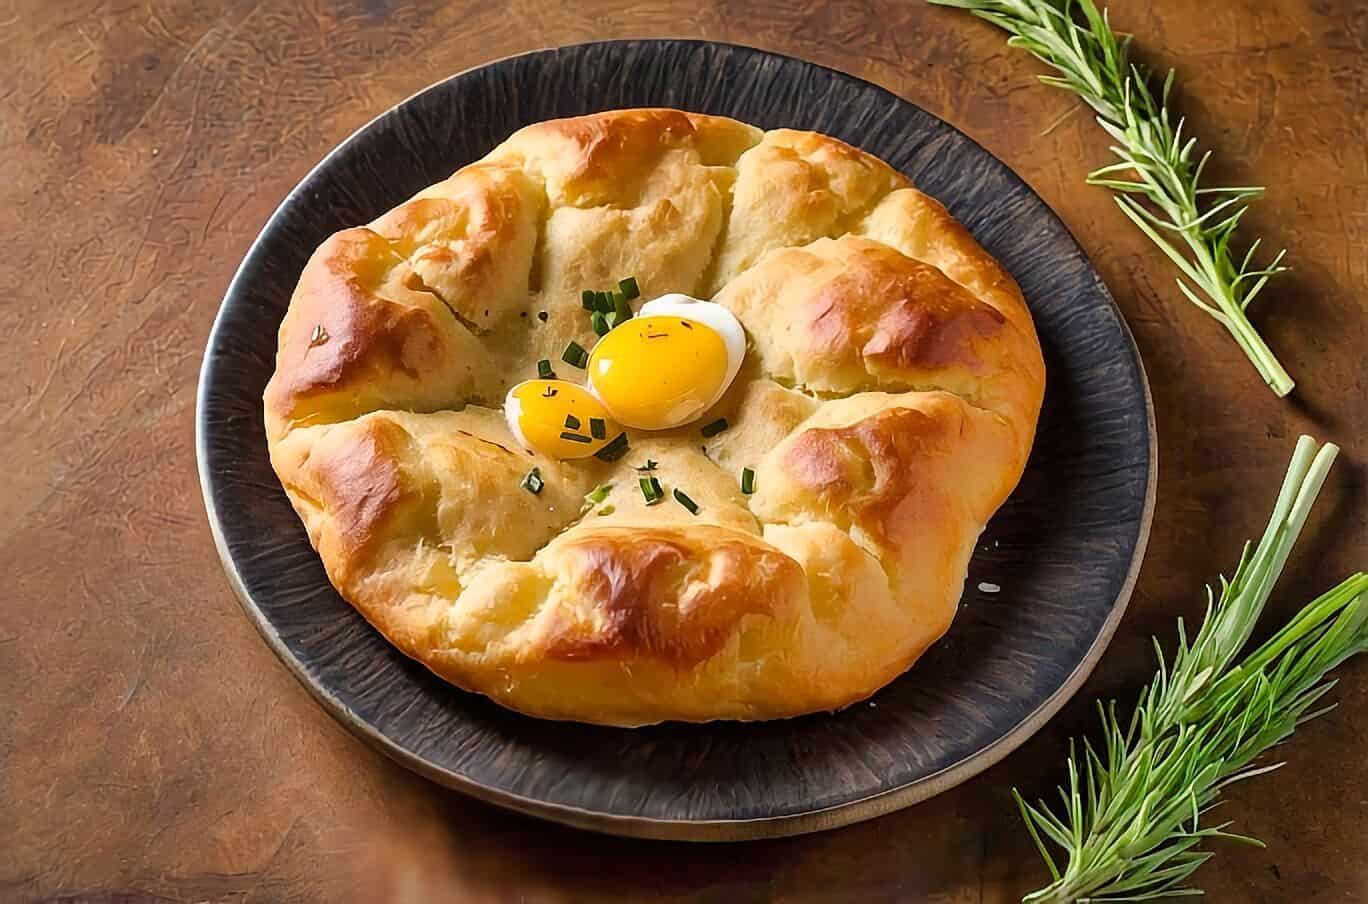
New Zealand Maori Fry Bread Recipe: When I think of traditional comforts from Aotearoa, nothing quite compares to the simplicity and warmth of New Zealand Maori fry bread. This delightful recipe is not only easy to make but also carries deep cultural significance. It is often served at gatherings and celebrations. The chewy texture and crispy exterior make it a favorite that I enjoy sharing with family and friends.
In this article, I’ll guide you through the steps to create your very own Maori fry bread. Embrace the flavors and traditions of New Zealand with this quick and satisfying treat that brings everyone together!

Ingredients and Substitutes
When I make New Zealand Maori fry bread, I focus on using simple ingredients. Here’s a list of what I typically use, along with some substitutes if you need them.
- Flour: I prefer all-purpose flour for its versatility. If you’re looking for a gluten-free option, try using a gluten-free all-purpose blend.
- Sugar: A small amount of sugar adds a nice touch. You can use brown sugar or honey as alternatives.
- Salt: I use regular table salt to enhance flavor. Sea salt works well too.
- Milk: I like using whole milk, but non-dairy milks like almond or soy milk are great substitutes.
- Yeast: Dried active yeast is my go-to. Instant yeast can also be used without adjustments.
- Water: Warm water helps activate the yeast. Be mindful to not use hot water; it can kill the yeast.
- Oil: I usually cook the bread in oil. Vegetable oil or canola oil are good options, but lard or tallow can add a rich flavor if preferred.
When preparing the fry bread, keep in mind these substitutes can work well while still delivering a delicious result. Enjoy experimenting with flavors and textures!

Preparing the Dough
When making Maori fry bread, the dough preparation is essential for achieving the right texture and flavor. I will guide you through three key steps: mixing, kneading, and proofing the dough.
Mixing the Ingredients
To start, I gather the main ingredients: flour, baking powder, salt, sugar, and milk. I typically use all-purpose flour for a balanced texture.
In a large mixing bowl, I combine the dry ingredients first—flour, sugar, salt, and baking powder. Once mixed well, I gradually add milk to create a soft dough.
Mixing by hand helps me gauge the consistency; it should be moist but not sticky. If the mixture feels too dry, a little extra milk can help.
It’s important to combine until just mixed to avoid overworking the dough, which can lead to denser fry bread.
Kneading the Dough
Next, I transfer the dough onto a lightly floured baking board. This is the fun part!
I begin kneading the dough by pressing it with my palms, folding it over, and repeating this motion. Kneading develops the gluten, making the fry bread spongy yet firm.
I usually knead for about 5-7 minutes, adding flour as needed to prevent sticking.
The goal is a smooth, elastic dough that bounces back when poked. If I notice any lumps, I give it a few more folds.
Proper kneading is crucial; it ensures even cooking and a delightful texture in the finished product.
Proofing the Dough
After kneading, I let the dough rest, allowing it to proof. I cover it with a clean cloth and leave it in a warm spot for about 15-30 minutes.
This step is essential for developing flavor and creating air pockets in the dough, leading to a lighter fry bread.
While the dough rests, I can prepare the frying oil or any toppings I plan to use.
It’s helpful to check the dough; it should rise slightly and feel softer. Once proofed, the dough is ready to be shaped and fried, ensuring a delicious end result.
Cooking Techniques
Cooking Maori fry bread involves specific methods that enhance its texture and flavor. Two key techniques are deep-frying and achieving the perfect crispness.
Deep-Frying the Fry Bread
For deep-frying, I recommend using a heavy cooking pot to ensure even heating.
Begin by selecting an appropriate oil, such as canola or vegetable oil, which can withstand high temperatures.
I usually heat the oil to around 350°F (175°C). To check if the oil is ready, I drop a small piece of leftover dough into it; if it bubbles and rises, I’m good to go.
Gently place the shaped dough into the hot oil, avoiding overcrowding to maintain the temperature.
Fry each piece for approximately 2-3 minutes on each side until they turn a beautiful golden brown.
Achieving the Perfect Crispness
To achieve that delightful crispness, it’s essential to monitor your frying time and oil temperature closely.
If the oil is too hot, the outside will burn while the inside remains raw. Conversely, if the oil is not hot enough, the fry bread will absorb too much oil, making it greasy.
After frying, I place the fry bread on paper towels to drain excess oil. This step helps retain that crispy texture.
For an added touch, I sometimes sprinkle a pinch of salt immediately after frying, which enhances the flavor. Enjoying crispy Maori fry bread is truly a rewarding experience!
Serving and Nutrition
When preparing Maori fry bread, the serving options and nutritional content are key points to consider. This delicious dish can be enjoyed in various ways, offering both savory and sweet experiences.
Savory and Sweet Toppings
I find that Maori fry bread pairs wonderfully with a variety of toppings.
For savory options, I often use cheese, bacon, or avocado. The richness of these ingredients enhances the warm, fluffy texture of the bread.
It can transform the fry bread into a satisfying meal or side dish at any gathering.
For a sweet twist, I enjoy using golden syrup, honey, or a sprinkle of cinnamon sugar.
These toppings provide a delightful contrast to the savory flavors. Both sweet and savory combinations can be adjusted to my taste, making this fry bread versatile and fun to customize for any occasion, from family gatherings to festive Marae events.
Serving Suggestions
When serving, I like to present the fry bread warm. This brings out its unique texture and flavor.
I usually slice or cut the fry bread into smaller pieces, making it easier for guests to manage.
I often serve it on a large platter with an array of toppings. This encourages guests to mix and match to their liking.
Additionally, I pay attention to the nutritional content. Each serving of Maori fry bread can contain around 387 calories with 11.5 grams of protein.
Being mindful of these nutrition facts helps me enjoy this cultural delicacy while balancing it in my diet.
Ingredients For the New Zealand Maori Fry Bread Recipe
Fry Bread Dough
Milk
Water
Yeast
Sugar
All-purpose Flour
Salt
Oil
Cooking Instructions For the New Zealand Maori Fry Bread Recipe
Fry Bread Dough
Pour warm milk and water into a large measuring cup. 1.5 cups warm milk,1.5 cups warm water. Stir in the yeast and sugar.
1 tsp yeast,1 tsp sugar
Wait around 10 minutes until froth forms on the surface.
Put the flour and the salt into a large bowl and add the yeast mixture. 6 cups all-purpose flour,1 tsp salt. Mix well with your hands; if the dough is too sticky add a bit more flour. The dough should be slightly sticky; there is no need to knead it.
Cover the bowl with cling wrap and let it proof in a warm place for 1.5 hours until doubled in size.
Deep Frying
Once the dough is ready, slightly dust the table with flour. Spread out the dough to a large rectangle shape. Once it is spread out the dough should be around 0.5 inches thick.
Cut the dough into small rectangles. They should look like little parcels.
Heat the oil; test that the oil is hot enough by putting a wooden stick into the oil – once little bubbles appear around the stick the oil is ready. 4 cups oil for deep-frying. Now you can add the dough by carefully putting them into the oil.
Make sure they have enough space in the saucepan because the bread will puff up. With tongs turn the bread over so it can fry on the other side as well. Once the bread is golden brown on both sides, take them out and let them drain on paper towels.
Serve while still warm with your favorite toppings
FAQ For the Traditional New Zealand 19. New Zealand Maori Fry Bread Recipe
Question: What is the main ingredient in the Traditional New Zealand 19. New Zealand Maori Fry Bread Recipe?
A: The main ingredient in the Traditional New Zealand 19. New Zealand Maori Fry Bread Recipe is flour, which is combined with water, baking powder, and a pinch of salt to create a simple dough that is deep-fried to golden perfection.
Question: Can I make the Traditional New Zealand 19. New Zealand Maori Fry Bread Recipe with whole wheat flour?
A: Yes, you can substitute whole wheat flour for white flour in the Traditional New Zealand 19. New Zealand Maori Fry Bread Recipe. It will change the flavor and texture slightly but still create a delicious result.
Question: What makes the Traditional New Zealand 19. New Zealand Maori Fry Bread Recipe special?
A: The Traditional New Zealand 19. New Zealand Maori Fry Bread Recipe is special because it has been passed down through generations and is traditionally served at various Maori gatherings and celebrations, often enjoyed with both savory and sweet toppings.
Question: How should I serve the Traditional New Zealand 19. New Zealand Maori Fry Bread Recipe?
A: The Traditional New Zealand 19. New Zealand Maori Fry Bread Recipe can be served with a variety of toppings such as honey, jam, or even as a savory side dish with stews or meats, depending on personal preference.
Question: Can I prepare the dough for the Traditional New Zealand 19. New Zealand Maori Fry Bread Recipe ahead of time?
A: It’s best to prepare the dough for the Traditional New Zealand 19. New Zealand Maori Fry Bread Recipe right before frying. However, you can store the dough in the fridge for a few hours before cooking if needed.
New Zealand Maori Fry Bread Recipe
Ingredients
- 1.5 cups Milk warm
- 1.5 cups Water warm
- 1 tsp Yeast
- 1 tsp Sugar
- 6 cups All-purpose Flour
- 1 tsp Salt
- 4 cups Oil
Instructions
- Pour warm milk and water into a large measuring cup. 1.5 cups warm milk,1.5 cups warm water. Stir in the yeast and sugar.
- 1 tsp yeast,1 tsp sugar
- Wait around 10 minutes until froth forms on the surface.
- Put the flour and the salt into a large bowl and add the yeast mixture. 6 cups all-purpose flour,1 tsp salt. Mix well with your hands; if the dough is too sticky add a bit more flour. The dough should be slightly sticky; there is no need to knead it.
- Cover the bowl with cling wrap and let it proof in a warm place for 1.5 hours until doubled in size.
- Once the dough is ready, slightly dust the table with flour. Spread out the dough to a large rectangle shape. Once it is spread out the dough should be around 0.5 inches thick.
- Cut the dough into small rectangles. They should look like little parcels.
- Heat the oil; test that the oil is hot enough by putting a wooden stick into the oil – once little bubbles appear around the stick the oil is ready. 4 cups oil for deep-frying. Now you can add the dough by carefully putting them into the oil.
- Make sure they have enough space in the saucepan because the bread will puff up. With tongs turn the bread over so it can fry on the other side as well. Once the bread is golden brown on both sides, take them out and let them drain on paper towels.
- Serve while still warm with your favorite toppings

“`
3 comments
Light and Puffy like the recipe description. Loved it and will use it again and again.
I find it interesting how different families have their own twist on the Maori fry bread recipe. Some use baking powder, others dont. Whats your secret ingredient that makes your fry bread stand out?
I think using coconut milk instead of regular milk could add a tropical twist to the Maori fry bread. Whos up for trying this variation next time they make it? 🥥🍞 #foodexperiment