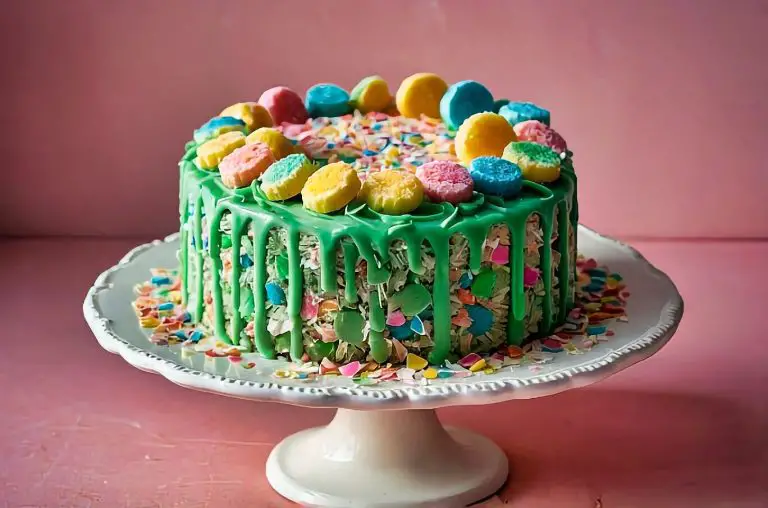
The New Zealand Lolly Cake recipe is a uniquely New Zealand treat that combines playful flavors and textures, making it a favorite among many. This easy-to-make recipe showcases the delightful mix of biscuit crumbs, sweetened condensed milk, and colorful lollies that turn into a nostalgic dessert everyone loves. I remember the first time I tried it; the chewy lollies and buttery base were a delightful surprise that instantly won me over.
Making lolly cake is not just simple; it’s a fun activity for the whole family. With just a handful of ingredients, you can create something that sparks joy and creativity in the kitchen. As I prepared this cake with friends, we shared laughs and stories, creating memories that complemented the deliciousness of the dessert itself.
If you’re looking for a recipe that brings a slice of Kiwi culture into your home, this is it. The vibrant flavors and quick preparation make it an ideal choice for gatherings or just a sweet treat for yourself. Let’s dive into the steps to make this iconic New Zealand dessert!
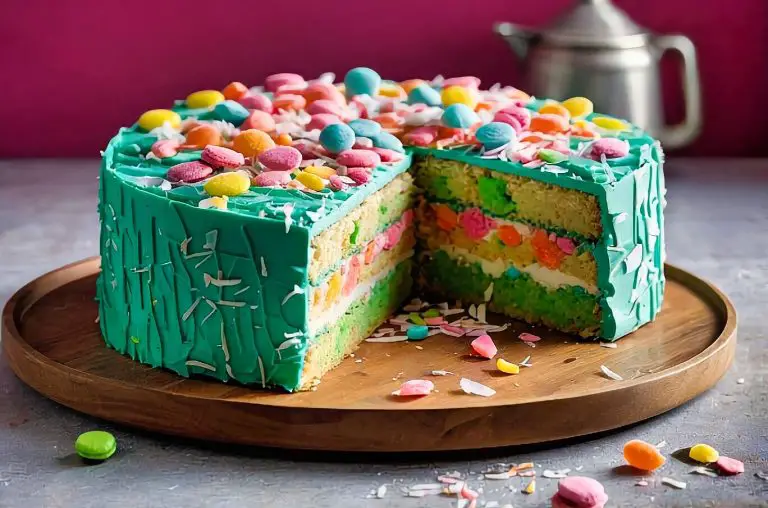
History of New Zealand Lolly Cake
Lolly cake has a unique place in New Zealand’s culinary landscape. It reflects the evolution of home baking and carries a sense of nostalgia and community for many.
Origins and Evolution
Lolly cake’s origins can be traced back to the mid-20th century, emerging in New Zealand households. Initially, the cake was created using basic ingredients like crushed biscuits, sweetened condensed milk, and colorful candies, commonly known as “lollies.”
As the recipe evolved, various families began adding their own personal touches. For instance, some incorporated coconut or dried fruit, while others experimented with different types of biscuits. The cake became a popular treat at birthday parties, school events, and community gatherings.
Through these adaptations, lolly cake has maintained its status as a traditional Kiwi dessert, bridging generations and showcasing New Zealand’s home baking culture.
Cultural Significance
Lolly cake holds a special place in New Zealand’s food culture and evokes memories for many Kiwis. It is often associated with childhood, birthday celebrations, and festive gatherings. Families regularly pass down their unique recipes, making each version a cherished heirloom.
The cake also represents a sense of community, as it is commonly shared at potlucks and events. It reflects the use of local ingredients and showcases the creativity of home bakers.
Due to its simplicity and nostalgic qualities, lolly cake embodies the warm, inviting nature of New Zealand life, making it more than just a dessert—it’s a symbol of connection and shared experiences.
Essential Ingredients
To create a delicious New Zealand Lolly Cake, it’s essential to gather a few specific ingredients. Each component plays a vital role in delivering that authentic flavor and texture I love in this treat. Let’s explore what I need for this delightful recipe.
Malt Biscuits
Malt biscuits are the backbone of the Lolly Cake. Their crunchy texture adds structure and a unique malty flavor that pairs perfectly with the other ingredients. I typically use about 250 grams of malt biscuits, which I crush into fine crumbs to create the cake’s base.
The crushed malt biscuits also absorb moisture from the condensed milk, making the cake cohesive and easy to slice. Choosing a quality brand ensures a rich taste that elevates the dessert. I find that using packets labeled “Malt Biscuits” in the supermarket makes this process hassle-free since they are readily available.
Fruit Puffs
Fruit puffs bring a burst of flavor and color to the Lolly Cake. I often use about 100 grams of fruit puffs, which are soft, chewy candies filled with fruity goodness. These candies not only add sweetness but also a delightful chewiness that contrasts with the crunch of the malt biscuits.
When I chop the fruit puffs into smaller pieces, it allows them to distribute evenly throughout the mixture. This results in a fun texture and flavor in every bite. It’s easy to find fruit puffs in various shops, making them a convenient addition to my shopping list.
Condensed Milk
Condensed milk acts as a binding agent and sweetener in my Lolly Cake. I usually use one can, which is about 395 grams. Its thick, creamy texture melds the crushed malt biscuits and fruit puffs, creating a cohesive mixture that holds together beautifully.
Additionally, the sweetness of the condensed milk balances the flavors of the other ingredients. I like to pour it into the bowl slowly, mixing it gently until everything is well combined. This helps to ensure that the flavors mesh nicely and that every piece of Lolly Cake is equally delightful.
Desiccated Coconut
Desiccated coconut adds a rich flavor and chewy texture that enhances the overall experience. I typically use around 100 grams, mixing it into the cake for added sweetness and a tropical touch. The coconut also helps to balance the sweetness of the fruit puffs and condensed milk.
When I incorporate desiccated coconut into the mixture, it creates a delightful contrast with the other ingredients. It’s easy to find in most grocery stores, so I keep this on hand for various recipes. Using unsweetened coconut keeps the overall sweetness of the cake in check while still providing a lovely texture.
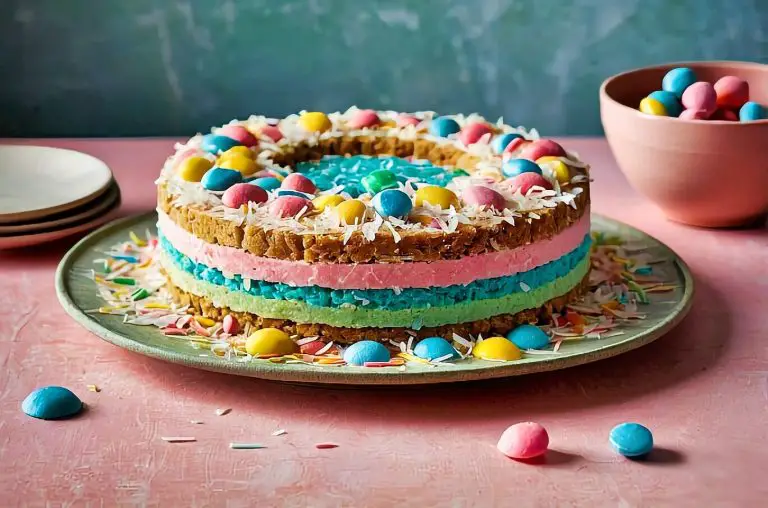
Step-by-Step Preparation
I find the process of making Lolly Cake to be straightforward and enjoyable. Each step brings you closer to a delicious treat that can be shared with family and friends.
Mixing the Ingredients
First, I prepare all my ingredients. For Lolly Cake, I’ll need 250g of crushed plain biscuits, 100g of butter, 397g of sweetened condensed milk, and 200g of fruit-flavored lollies.
I start by crushing the plain biscuits into fine crumbs. I usually use a food processor for an even texture, but placing them in a zip-lock bag and using a rolling pin works just as well.
Next, I melt the butter in a saucepan over low heat. Once melted, I combine it with the condensed milk in a large mixing bowl. I stir until it’s nicely blended.
Now, I add the crushed biscuits to the mixture and mix thoroughly. It’s essential to make sure every crumb is coated. Finally, I chop the lollies into small pieces before folding them into the mixture. This adds delightful bursts of flavor.
Shaping the Cake
With my dough ready, I lay out a sheet of plastic wrap on a clean surface. I scoop portions of the mixture onto the wrap and shape it into a log, about 5-7 cm in diameter.
Once I’ve shaped the log, I tightly wrap it in the plastic. This helps maintain its shape and keep it moist. I also press down gently to ensure it’s compact.
After wrapping, I place the log in the refrigerator. It should chill for at least 4 hours, but overnight works well, too. Chilling is crucial to firm up the log so it slices cleanly.
Refrigeration and Serving
After the chilling time is up, I carefully unwrap the log. I use a sharp knife to slice it into 1 inch thick pieces. The vibrant colors from the lollies should be visible in each slice, making them appealing.
For serving, I arrange the slices on a platter. They can be enjoyed straight away, but they also keep well in an airtight container in the fridge for a few days.
Whether it’s for a special occasion or just a treat for myself, I love serving Lolly Cake at gatherings.
Variations and Serving Tips
When making Lolly Cake, I find that a few adjustments can add unique twists. Exploring alternative ingredients can cater to different tastes and dietary preferences. Additionally, knowing how to serve it can enhance the enjoyment of this classic treat.
Alternative Ingredients
I love experimenting with alternative ingredients in my Lolly Cake. For a gluten-free version, I use gluten-free biscuits like Arrowroot or a gluten-free graham cracker.
If I want to enhance the flavor, I often add a splash of vanilla extract or a tablespoon of cocoa powder to the mixture.
For a more colorful option, I sometimes swap out the standard marshmallow lollies for fruit-flavored ones, like gummy bears or sour candies. You could also consider adding chopped nuts or dried fruit to give it an extra crunch and depth of flavor.
Serving Suggestions
When it comes to serving Lolly Cake, I like to slice it into small squares for a bite-sized treat. Placing the squares on a colorful platter can make it visually appealing for gatherings.
I also enjoy pairing Lolly Cake with a cup of tea or coffee, as the sweetness balances perfectly with these beverages. For a special touch, I might sprinkle some dessert sprinkles or shredded coconut on top before serving.
Another fun idea is to serve it with a scoop of ice cream, creating a delightful dessert experience. Enjoying it chilled can also enhance the flavor, especially on warm days.
Ingredients For the New Zealand Lolly Cake Recipe
Cookies
Butter
Sweetened Condensed Milk
Marshmallows
Coconut

Cooking Instructions For the New Zealand Lolly Cake Recipe
Crush the cookies into fine crumbs using a food processor. If you don’t have one, place the cookies in a zip-top bag and crush them with a rolling pin.
In a small pot, melt the butter and sweetened condensed milk over low heat. Stir well once the butter has melted, then remove from heat.
In a separate bowl, mix the crushed cookie crumbs with mini marshmallows. Pour the melted butter and condensed milk mixture into the bowl and stir until everything is well combined. Transfer the mixture onto a clean countertop and shape it into a log, about 3 inches in diameter. Roll the log in coconut until fully coated. Wrap the log tightly in plastic wrap and refrigerate for 2-3 hours to set. You may need to reshape the log after about 1 hour to maintain its form.
Once chilled, slice the log into ½-inch pieces and serve. Store any leftovers in the fridge.
FAQ For the Traditional New Zealand Lolly Cake Recipe
Question: What ingredients are needed for a Traditional New Zealand Lolly Cake recipe?
A: A Traditional New Zealand Lolly Cake recipe typically includes malt biscuits, sweetened condensed milk, butter, fruit puff lollies, and desiccated coconut for rolling. These ingredients create a chewy, sweet treat popular in New Zealand.
Question: How do you make a Traditional New Zealand Lolly Cake recipe?
A: To make a Traditional New Zealand Lolly Cake recipe, crush malt biscuits into fine crumbs, then mix with melted butter and condensed milk. Stir in chopped fruit puff lollies, shape into a log, roll in desiccated coconut, and refrigerate until firm before slicing.
Question: Can you use different types of lollies in a Traditional New Zealand Lolly Cake recipe?
A: Yes, a Traditional New Zealand Lolly Cake recipe can be adapted using different soft, chewy lollies. While fruit puffs are traditional, marshmallows or other similar sweets can be used for variation.
Question: How long does a Traditional New Zealand Lolly Cake recipe take to set?
A: A Traditional New Zealand Lolly Cake recipe usually takes about 1 to 2 hours in the refrigerator to set. Chilling helps the ingredients firm up, making it easier to slice into pieces.
Question: How should you store a Traditional New Zealand Lolly Cake recipe?
A: A Traditional New Zealand Lolly Cake recipe should be stored in an airtight container in the refrigerator for up to a week. It can also be frozen for longer storage, with slices thawed as needed.
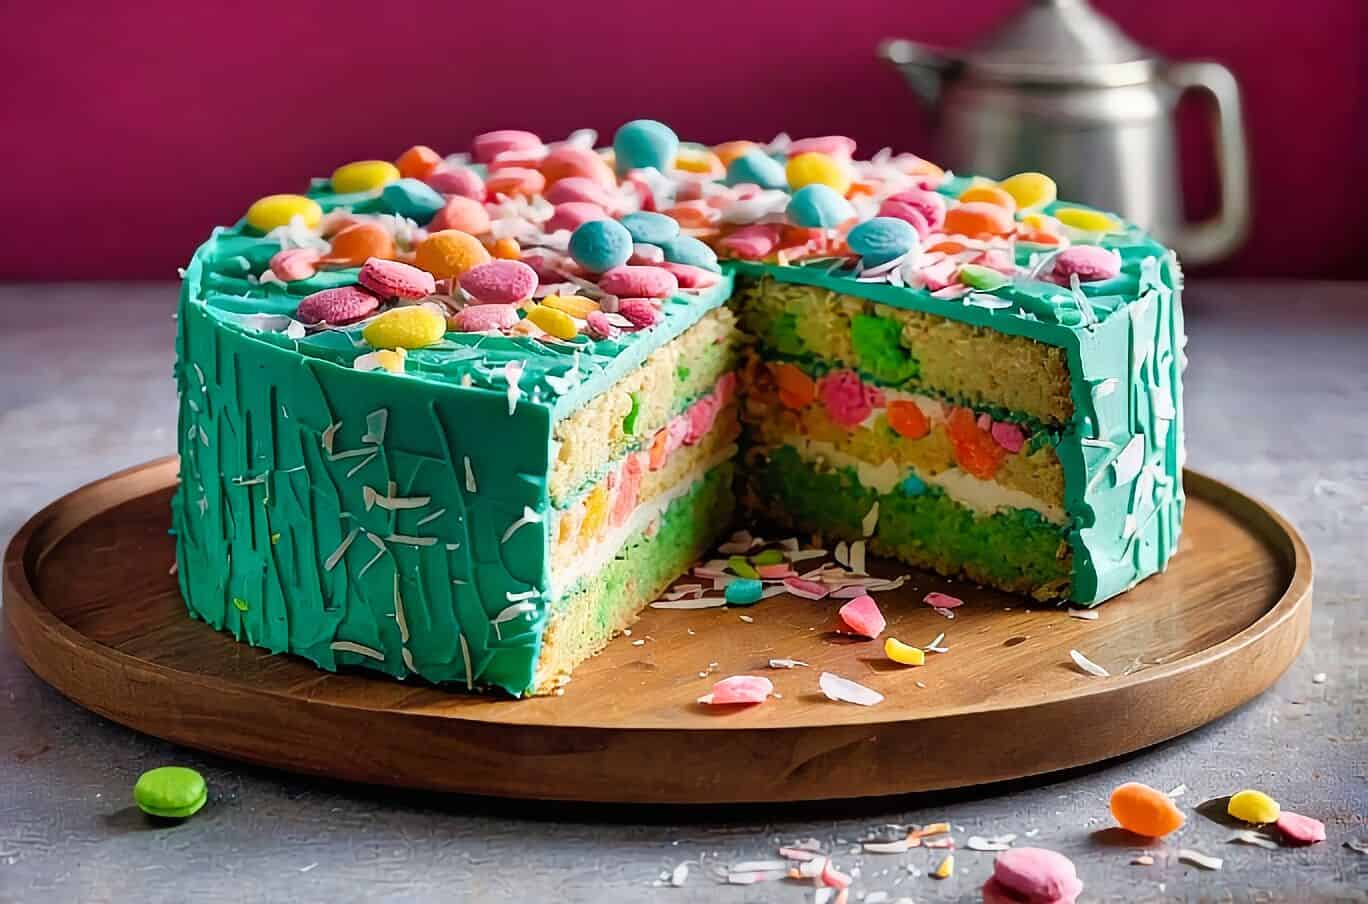
New Zealand Lolly Cake Recipe
Ingredients
- 20 Cookies digestive
- 1/2 cup Butter unsalted butter
- 1/2 cup Sweetened Condensed Milk
- 1 1/2 cups Marshmallows multi-colored mini
- 1/2 cup Coconut desiccated
Instructions
- Crush the cookies into fine crumbs using a food processor. If you don't have one, place the cookies in a zip-top bag and crush them with a rolling pin.
- In a small pot, melt the butter and sweetened condensed milk over low heat. Stir well once the butter has melted, then remove from heat.
- In a separate bowl, mix the crushed cookie crumbs with mini marshmallows. Pour the melted butter and condensed milk mixture into the bowl and stir until everything is well combined. Transfer the mixture onto a clean countertop and shape it into a log, about 3 inches in diameter. Roll the log in coconut until fully coated. Wrap the log tightly in plastic wrap and refrigerate for 2-3 hours to set. You may need to reshape the log after about 1 hour to maintain its form.
- Once chilled, slice the log into ½-inch pieces and serve. Store any leftovers in the fridge.

1 comment
This is a perfect cake for a childrens party. You will be the first to make it I am sure.