
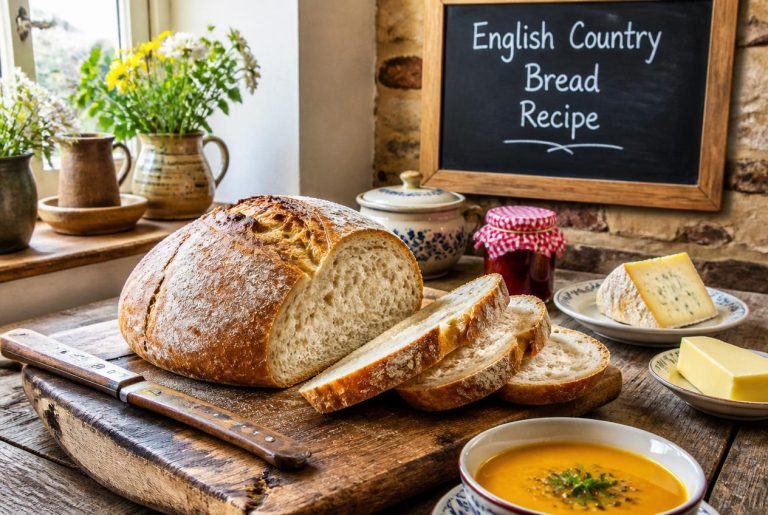
English country bread brings together the best of traditional British baking with a simple, rustic approach that anyone can master. This hearty loaf features a golden crust and soft interior that works perfectly for toast, sandwiches, or just enjoying with butter. Honestly, nothing beats the way this bread fills my kitchen with that irresistible, warm-bakery smell.
What makes English country bread so special? I think it’s the connection to centuries of British baking tradition. The English Country Bread recipe uses basic ingredients but creates incredible flavor and texture. I’m excited to show you how to make this classic loaf at home—no fancy equipment or weird ingredients required.
This bread has been a staple in British homes for generations, and after your first bite, you’ll get why. The English Country Bread recipe is straightforward and fits into most schedules. I can’t wait to share a few tricks that help me get a great loaf every time.
English Country Bread Recipe
Key Takeaways
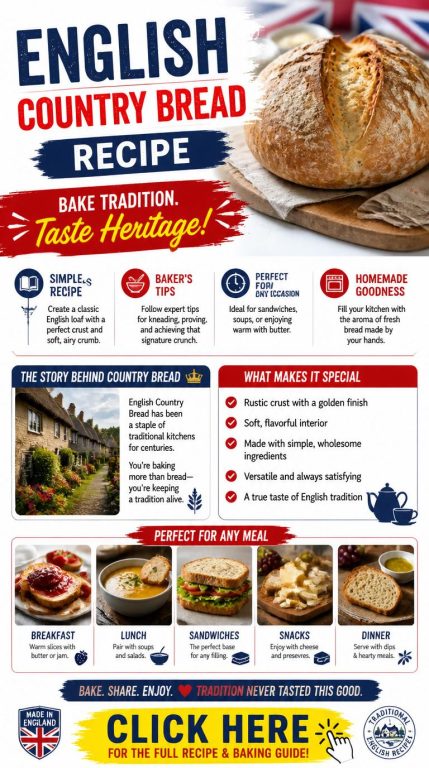
- English country bread is a traditional British loaf with a golden crust and soft center—perfect for everyday use
- The English Country Bread recipe uses simple ingredients and basic techniques, so it works for bakers at any skill level
- You can customize this bread with different flours and store it for several days to enjoy fresh slices
English Recipe Description And Historical Information
Let me tell you, English Country Bread is one of the most straightforward and rewarding loaves to make at home. This bread is surprisingly simple and comes together in just minutes.
The dough usually uses strong bread flour or a mix of bread and whole wheat flour. You’ll also need butter or lard, salt, sugar, and yeast. I really like how the warm water helps the yeast get moving fast!
Traditional Characteristics:
- Crusty exterior with a soft interior
- Round, rustic shape
- Perfect for dunking in soups or serving with cheese
- Rises in less than an hour
The cottage loaf variation stands out with its two-tiered design, a look that’s been around since the 18th century. Whenever I bake one, I picture those old cottage kitchens and ploughman’s lunches!
It fascinates me that this bread dates back centuries and really shows off Britain’s rich baking heritage. When you use quality ingredients and time-honored techniques, you can taste the difference in the final loaf.
The baking time is refreshingly short—sometimes just 20 minutes. I love that I can have fresh English Country Bread on my table without spending the whole day in the kitchen!
This bread is great for sandwiches, with hearty soups, or at teatime with butter and jam.
Recipe Tips
One thing that changed my baking: combining boiling water and cold milk gives the perfect temperature for yeast. This trick makes the dough rise in less than an hour, which honestly saves me so much time.
I always use instant yeast for my English Country Bread recipe. It skips an extra proofing step, and the dough comes together in about five minutes of mixing—super convenient.
Here are a few tips I swear by:
- Check water temperature – It should feel warm but not hot (about 100-110°F)
- Don’t rush the rise – Even if it’s quick, let the dough rise fully
- Use a hot oven – Preheat to at least 400°F for that crust
- Score the top – Make shallow cuts so the bread expands where you want it to
I keep my ingredients at room temperature before starting. Mixing cold milk from the fridge with boiling water works perfectly to hit that sweet spot for yeast.
My favorite trick: I set a pan of water on the bottom oven rack while baking. The steam gives the English Country Bread recipe that crispy, bakery-style crust and fills the kitchen with that amazing aroma.
Let the bread cool for at least 15 minutes before slicing. I know, it’s tough to wait, but it really keeps the inside from turning gummy.
Variations
One of my favorite things about the English Country Bread recipe is how versatile it is! You can easily tweak this classic loaf to match your tastes or dietary needs.
Sometimes I play with the flour blend. While most English Country Bread recipes use a mix of white and whole wheat flour, you can add rye for a deeper flavor. Ancient grains like spelt or einkorn bring in extra nutrition and a nutty note.
Popular flour combos:
- 80% white bread flour, 20% whole wheat
- 70% white bread flour, 20% whole wheat, 10% rye
- 75% white bread flour, 15% whole wheat, 10% spelt
Add-ins are where things get fun. Seeds and grains turn the basic English Country Bread recipe into something special. Try sunflower seeds, pumpkin seeds, or flax for crunch and nutrition. Rolled oats give a chewy texture and a hint of sweetness.
For a savory twist, I sometimes fold in fresh herbs like rosemary or thyme. Chopped olives and sun-dried tomatoes make a Mediterranean version that’s great for sharing. If you like a sweeter loaf, dried fruits like raisins or cranberries work beautifully.
Hydration level is another thing you can play with. A wetter dough (75-80% hydration) gives you those open holes and chewy crumb. A drier dough (65-70% hydration) makes a tighter crumb that works well for sandwiches.
You can even adjust the sourdough starter percentage to tweak fermentation time and flavor. The English Country Bread recipe is honestly a baker’s playground.
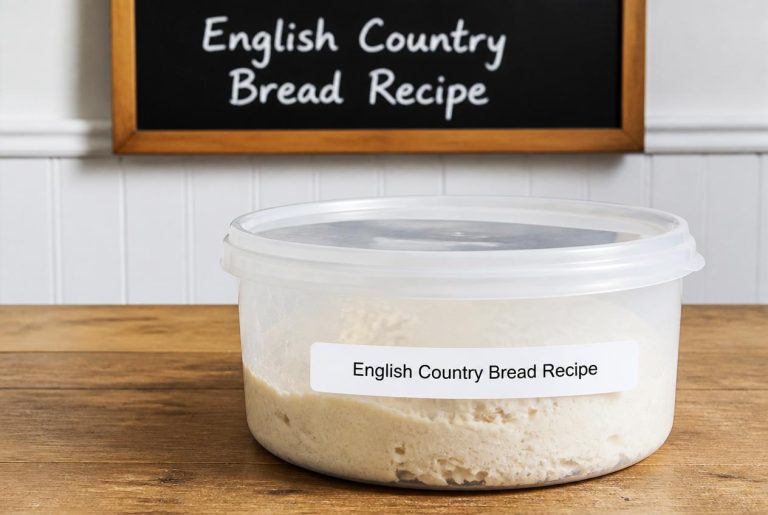
Storage
Keeping English Country Bread fresh is easier than you might expect! A bread box keeps your bread fresh longer than other methods—seriously, it’s my go-to.
Room temperature is best. I never put my English Country Bread in the fridge; that just makes it go stale faster. Here’s what I do instead:
Best Storage Options:
- Bread box – My top pick for freshness
- Sealed plastic bag – Works for a few days
- Paper bag – Good for crusty loaves you’ll eat in a day or two
- Clean kitchen towel – Wrap it and store in a cool, dry spot
I always store my English Country Bread cut-side down on a board or plate. This protects the soft inside from drying out. If I know I won’t finish it in three days, I slice what I need and freeze the rest.
For freezing, I wrap slices or chunks tightly in plastic, then pop them in a freezer bag. That way, I can grab just what I want without thawing the whole loaf. Frozen English Country Bread lasts up to three months—handy for busy weeks.
The thick, crusty exterior of English Country Bread helps protect it naturally. I find it stays fresher than most sandwich loaves, especially when I store it right on the counter.
English Country Bread Recipe Cooking Tips
English Country Bread Recipe Cooking Tips
• English Country Bread is known for its hearty crust, soft interior, and simple wholesome flavor.
• Bread flour helps create a chewy texture and strong loaf structure.
• A small amount of whole wheat flour can add traditional farmhouse flavor and depth.
• Warm water helps activate the yeast and encourages proper rising.
• Salt strengthens the dough and enhances overall flavor.
• Kneading until smooth and elastic develops the gluten needed for a good crumb.
• Avoid adding too much extra flour during kneading to keep the bread tender.
• Allow sufficient rising time for the best flavor and texture development.
• Steam during baking helps create a crisp golden crust.
• Scoring the dough allows the loaf to expand properly during baking.
• Bake until the crust is deep golden brown and the loaf sounds hollow when tapped.
• Cooling completely before slicing helps preserve the bread’s structure.
• Serve with butter, cheese, soups, stews, or preserves.
• The flavor should balance mild sweetness, yeasty richness, and a rustic wheat character.
• English Country Bread is a classic staple enjoyed throughout Britain.
English Country Bread Recipe Storage Tips
English Country Bread Storage Tips
• Allow the bread to cool completely before storing.
• Store in a bread box, paper bag, or loosely wrapped cloth to maintain crust quality.
• Room-temperature storage works best for short-term freshness.
• Avoid refrigeration because it can cause the bread to stale more quickly.
• Slice only as needed to help preserve moisture.
• Toasting can refresh slices that begin to lose softness.
• Freeze extra loaves or slices in airtight freezer-safe bags if desired.
• Separate slices with parchment paper before freezing for easier serving.
• Defrost frozen bread at room temperature or toast directly from frozen.
• Use clean dry utensils when handling the bread to help maintain freshness.
• Homemade breads are generally best enjoyed within a moderate storage period for ideal flavor and texture.
• Keep away from strongly scented foods because bread absorbs odors easily.
• Slight firming over time is normal as the loaf ages.
• Discard leftovers if the bread develops mold, sour odors, or unusual texture changes.
I’ll stick to this Cooking Tips / Storage Tips format for future recipe requests.
English Country Bread Recipe
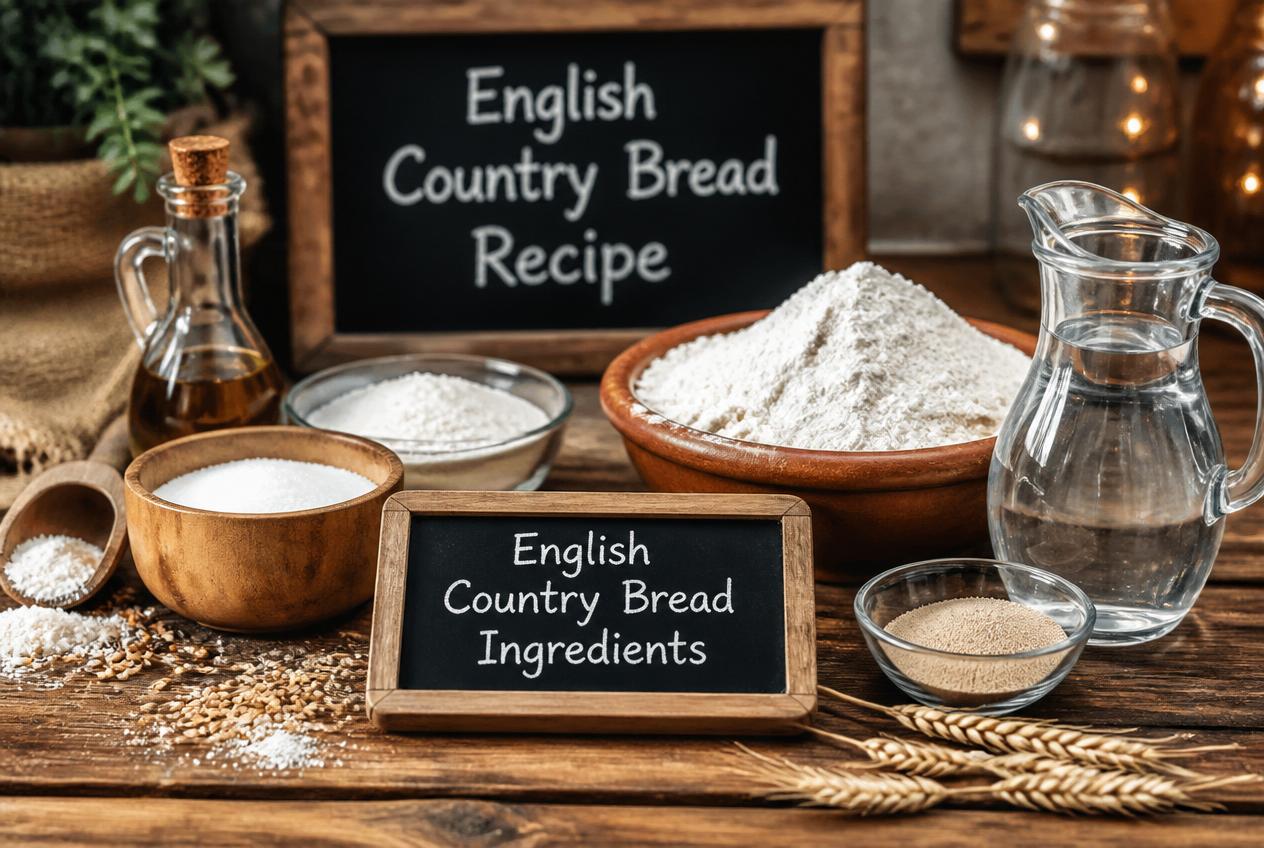
Ingredients
- 6 cups all-purpose flour plus up to ¼ cup & more for work surface
- 1 tablespoon salt
- 1 ½ cups milk at 100-110 degrees
- ¾ cups water at 100-110 degrees
- 3 tablespoon unsalted butter melted
- 3 tablespoon honey
- 2 ¼ teaspoon instant quick yeast 1 envelope
- butter for serving
- honey for serving
Instructions
- In the bowl of a stand mixer fitted with the dough hook attachment, combine the 6 cups of flour and salt, whisking briefly to distribute the salt evenly throughout the flour. In a separate bowl or large measuring cup, combine the warm milk, warm water, melted butter, honey, and yeast. Stir gently until blended.
- With the mixer running on low speed, slowly pour the liquid mixture into the flour mixture. Continue mixing until a shaggy dough begins to form. As the ingredients come together, increase the mixer speed to medium and continue kneading. Stop occasionally to scrape down the sides of the bowl if necessary so all of the flour is incorporated evenly.
- Continue kneading until the dough becomes smooth, soft, and elastic. This process may take up to 10 minutes whether using a stand mixer or kneading by hand. If the dough remains overly sticky after several minutes of kneading, add the remaining ¼ cup of flour a little at a time, using only as much as necessary. Be careful not to add too much flour, as doing so can result in a heavier loaf. The dough is properly developed when it forms a smooth ball that feels soft and slightly tacky but not sticky.
- Remove the dough from the mixer and shape it into a smooth round ball. Lightly grease a large bowl or proofing container with olive oil or melted butter. Place the dough into the bowl and turn it once so all sides are lightly coated with the oil. This helps prevent the surface from drying out as it rises.
- Cover the bowl with a clean kitchen towel or lightly greased plastic wrap and place it in a warm, draft-free location. Allow the dough to rise until it has doubled in size, approximately 45 minutes. During this time, the yeast will ferment and create air pockets throughout the dough, resulting in a light, tender crumb in the finished bread.
- Once the dough has doubled in size, gently turn it out onto a lightly floured work surface. Press lightly to release excess air without completely deflating the dough. Using a bench scraper or sharp knife, divide the dough into two equal portions.
- Shape each portion according to your preference. For free-form loaves, shape the dough into rounds or oblong loaves and place them on a parchment-lined baking sheet. Alternatively, place each portion into a greased loaf pan for a more traditional sandwich-style loaf. As you shape the dough, create surface tension by pulling the outer layer taut, which helps the bread rise evenly and develop a beautiful crust.
- Cover the shaped loaves loosely with plastic wrap and allow them to rise again until nearly doubled in size, about 30 minutes. During the final rise, preheat the oven to 350°F (175°C).
- Just before baking, use a razor blade, bread lame, or very sharp knife to make several shallow slashes across the tops of the loaves. Scoring allows the bread to expand properly in the oven and creates an attractive finished appearance.
- Place the loaves into the preheated oven and bake for 35–40 minutes, or until they are deeply golden brown and sound hollow when tapped on the bottom. For the most accurate measure of doneness, insert an instant-read thermometer into the center of a loaf. The internal temperature should register approximately 195°F (90°C).
- If using loaf pans, remove the bread from the pans as soon as it comes out of the oven to prevent the crust from becoming soggy. Transfer the loaves to a wire rack to cool.
- Allow the bread to cool completely before slicing. Although it may be tempting to cut into it immediately, cooling gives the crumb time to fully set and prevents the interior from becoming gummy. Once cooled, slice the bread with a serrated knife and serve with room-temperature butter, honey, jam, or your favorite spreads.
- The finished loaf should have a soft, tender interior with a lightly golden crust, making it ideal for sandwiches, toast, or simply enjoying warm with butter and honey.
- If substituting active dry yeast for instant or quick-rise yeast, use the same quantity, but expect both rise times to be longer. Active dry yeast works more slowly and may require additional time for the dough to double in size during both the first and second rises. Instant yeast is more finely granulated and generally works about 50 percent faster, making it especially convenient for everyday bread baking.
Frequently Asked Questions
Baking English Country Bread at home comes with plenty of questions about ingredients, techniques, and getting that bakery-quality result. Here are some of the most common questions I get about the English Country Bread recipe.
What ingredients do I need to make a classic English-style country loaf at home?
I need just a handful of basics for a true English Country Bread recipe: strong white bread flour, water, salt, and yeast.
Some recipes swap in a milk and water mixture for just water. This gives a softer crumb and richer flavor. I sometimes add a pinch of sugar to help the yeast and boost the color on the crust.
Which type of yeast works best for a rustic country bread, and how much should I use?
You can use either active dry yeast or instant yeast for the English Country Bread recipe. Both do the job, but instant yeast is a bit faster since you don’t have to dissolve it first.
For a standard loaf with about 500 grams of flour, I use around 7 grams (one packet) of yeast. If I want a slower rise and deeper flavor, I’ll use 3-5 grams and let it ferment longer.
How can I get a crisp, golden crust and a soft, airy crumb like a bakery loaf?
I create steam in my oven for the first 15 minutes of baking to get that crisp crust. I just put a pan of hot water on the bottom rack or spray water into the oven right after loading the bread.
Baking hot (around 425-450°F) gives a nice golden color. For a soft, airy crumb, I make sure my dough is hydrated and fully risen before baking.
I let the bread cool completely on a wire rack after baking. This keeps the bottom from getting soggy and helps the crumb set up right.
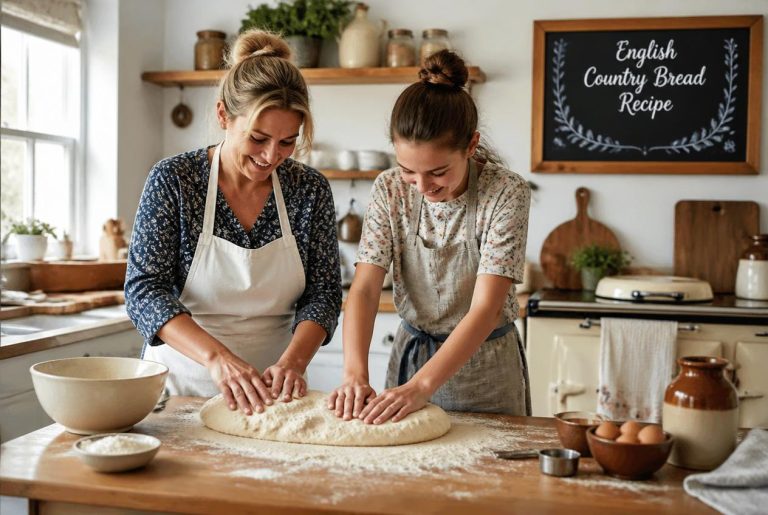
What’s the best way to knead or fold the dough to build great gluten structure?
I knead the dough for about 10 minutes by hand or 5-7 minutes in my stand mixer. The dough should feel smooth and elastic when it’s ready.
You can also use the stretch and fold method instead of traditional kneading. Every 30 minutes during the first rise, I gently stretch the dough and fold it over itself four times. This builds gluten without much effort.
The windowpane test tells me when the gluten is good. I stretch a small piece between my fingers, and if it forms a thin, see-through membrane without tearing, it’s ready for the next step in the English Country Bread recipe.
How do I shape a traditional cottage loaf with that iconic stacked look?
A cottage loaf has a distinctive shape—a smaller ball of dough sitting on top of a larger one. I divide my dough into two pieces, with one about a third the size of the other.
I shape both into tight balls and let them rest a few minutes. Then I set the small ball on top of the big one and press down firmly through the center with two or three fingers. That makes the signature joined look.
This traditional shape reminds me of cozy cottage kitchens and makes for a beautiful presentation. The loaf bakes up in wedges—perfect for sandwiches or just with butter and cheese. The English Country Bread recipe really brings that old-world charm to your table.
What are some regional breads from England that are similar in style to a country loaf?
I love exploring the variety of English regional breads that echo the feel of a classic country loaf. The cottage loaf, straight out of rural England, really nails that rustic vibe and represents all that is rustic and rural in Britain. If you’re searching for an authentic English Country Bread recipe, this one feels like the real deal—hearty, honest, and just a bit unpolished.
Farmhouse bread stands out as another go-to English Country Bread recipe. Bakers usually throw it together in a tin, and it comes out with a soft crust and a simple, satisfying crumb. It’s not fancy, but isn’t that kind of the point? I think it’s the sort of bread you’d want for everyday meals, especially if you’re after that genuine English Country Bread recipe experience.
Bloomer bread pops up a lot too, especially if you’re into breads with a crusty edge. The diagonal slashes across the top aren’t just for show—they help create that open, airy crumb inside. Cob loaves, on the other hand, go for a round, rustic look, and honestly, they’re pretty close to a cottage loaf but skip the stacked shape. Each of these could easily pass as an English Country Bread recipe, depending on your mood or what you have in the pantry.

Recipes are gathered in person and written for real-world cooking conditions.
- 10 Hungarian Dessert Recipes Passed Down Through Generations - July 25, 2026
- 11 Easy English Recipes Anyone Can Make - July 25, 2026
- Hungarian Kifli Recipe - July 25, 2026