Cleanup Tips For Dutch Oven Cooking
This guide will provide you with vital cleanup tips for Dutch oven cooking, ensuring that you can enjoy your culinary adventures without the dreaded post-meal mess. Whether you’re whipping up a family recipe or experimenting with new dishes, knowing how to properly clean your Dutch oven will enhance your cooking experience. From maintaining the seasoning to quick-wipe techniques, these tips will help you keep your cookware in top shape for all your future meals. Let’s examine the best practices for an easy cleanup!
Key Takeaways:
- Prepare Before Cooking: Having a plan before you start can make the cleanup process much easier. Lay out your ingredients and ensure all necessary tools are within reach.
- Use Non-Stick Spray: Coating the interior of your Dutch oven with a non-stick spray can help prevent food from sticking and make cleanup significantly less complicated.
- Soak After Cooking: Allow your Dutch oven to cool slightly after cooking, then soak it in warm, soapy water. This helps loosen stubborn food residues.
- Scrape, Don’t Scrub: Avoid harsh scrubbing of the surface. Instead, use a wooden or silicone spatula to gently scrape away food particles, preserving the Dutch oven’s finish.
- Maintain Your Seasoning: Regularly maintaining the seasoning of your cast iron Dutch oven not only enhances flavor but also makes cleanup easier.
- Dry Thoroughly: After washing your Dutch oven, ensure it is dried completely to prevent rusting, especially if it’s made of cast iron.
- Store Properly: When storing your Dutch oven, consider placing a paper towel inside to absorb moisture and prevent unpleasant odors.
Understanding Dutch Ovens
Before stepping into the cleanup tips for your Dutch oven, it’s crucial to understand the tool you’re working with. A Dutch oven is a versatile cooking pot, perfect for various cooking methods, from slow-cooking stews to roasting meats. Owning one means you can easily feed your family or enjoy a meal while camping in the great outdoors. The adaptability of Dutch ovens makes them a staple in many kitchens, but with that versatility comes the need for proper care and cleaning techniques.
Types of Dutch Ovens
Ovens of various designs and materials suit different cooking needs. Here are some popular types of Dutch ovens you might encounter:
- Cast Iron Dutch Ovens: Known for excellent heat retention.
- Enamel-Coated Dutch Ovens: Easy to clean and available in various colors.
- Aluminum Dutch Ovens: Lightweight and perfect for camping.
- Stainless Steel Dutch Ovens: Durable and non-reactive.
- Non-Stick Dutch Ovens: Simplifies the cleanup process, but durability can vary.
Recognizing the differences in Dutch ovens can help you choose the right one for your cooking style and preferences. Each type offers unique benefits that can enhance your cooking experience.
| Type | Benefits |
|---|---|
| Cast Iron | Excellent heat distribution |
| Enamel-Coated | Easy to clean and resistant to rust |
| Aluminum | Lightweight and portable |
| Stainless Steel | Long-lasting and non-reactive |
| Non-Stick | Minimized food sticking for easier cleanup |
Materials Used in Dutch Ovens
Clearly, understanding the materials used in Dutch ovens can significantly impact your cooking experience and cleaning routine. The choice of material determines how efficiently heat is distributed, how easy it is to clean, and even how well your food tastes. From traditional cast iron to modern non-stick coatings, each material caters to different cooking and cleaning preferences.
Dutch ovens are predominantly made of cast iron, which can be seasoned or enameled. Cast iron naturally retains and evenly distributes heat, making it ideal for slow-cooking and baking. Enameled versions provide a non-porous surface that doesn’t require seasoning and is easier to clean, perfect for those who prefer minimal maintenance. Additionally, aluminum and stainless steel variations are popular for their lightweight and durability, suitable for various cooking situations, especially when you’re on the go. Keep in mind, the material of your Dutch oven will affect your cleanup process, so choose wisely!

Pre-Cooking Preparation Tips
Some key preparation steps can save you considerable hassle when it comes to cleaning after Dutch oven cooking. Here are a few important cleanup tips to include in your pre-cooking routine:
- Gather all your cooking tools and ingredients beforehand
- Choose a suitable cooking location with easy cleanup access
- Line your Dutch oven with aluminum foil for easy cleanup
- Prepare your workspace with cleaning supplies readily available
- Have a designated area for trash to keep your space tidy
Knowing these tips aids in establishing a smooth cooking process, allowing you to fully enjoy your time outdoors with your family. A little preparation can significantly reduce cleanup time and ensure your Dutch oven cooking experience is enjoyable and stress-free.
Seasoning Your Dutch Oven
There’s a vital step you shouldn’t overlook: seasoning your Dutch oven. Properly seasoning creates a natural non-stick surface that not only enhances the flavor of your food but also makes cleaning much easier. To season your Dutch oven, wash it with warm soapy water, rinse, then dry thoroughly. Next, apply a thin layer of vegetable oil or shortening to the inside. Place it upside down in an oven heated to 350°F for an hour to allow the oil to bond with the cast iron.
Another benefit of seasoning your Dutch oven is that it builds up a protective layer, preventing rust and reducing the buildup of food particles. Regularly maintaining this seasoning can keep your pot in excellent condition for years. This makes your cleanup after cooking significantly more manageable, as less food will stick to the surfaces.
Choosing the Right Recipe
Right from the start, selecting an easy and appropriate recipe can contribute to a smoother cleanup process. Opt for dishes that don’t produce excessive sticking or burning, as this can greatly affect your cleaning routine later on. Additionally, many recipes are tailored specifically for Dutch ovens, allowing you to maximize their potential while minimizing mess.
It’s crucial to consider how different ingredients respond to cooking in a Dutch oven. For instance, recipes with high moisture content may be less likely to burn and stick, while those with sugars can become more challenging to clean. Planning your meals accordingly will not only enhance the flavors of your dishes but also simplify your cleanup afterwards, making your Dutch oven cooking experience even more enjoyable.
Cooking with a Dutch Oven
Your experience with Dutch oven cooking can be enhanced by mastering some fundamental techniques. Using this versatile cookware, you can explore a range of culinary delights, from hearty stews to baked goods. Proper care and cooking strategies will not only improve your meals but also make cleanup a breeze when you follow the right practices.
Best Cooking Techniques
Any cooking endeavor with a Dutch oven begins with understanding its unique characteristics. This multi-functional kitchen tool excels in heat retention and distribution, allowing you to achieve the ideal sear while maintaining moisture in your dishes. For instance, consider layering your ingredients thoughtfully; start with harder vegetables and meats on the bottom, followed by softer items on top. This ensures even cooking without burning the delicate components.
Any seasoned Dutch oven user knows the importance of preheating your pot, especially if you’re baking. Preheating not only ensures that your food cooks evenly but also helps give that delightful crust to your bread or stew. Always remember to use a lid during cooking to trap heat and moisture, creating an oven-like environment that can significantly enhance the flavor of your meals.
Cooking Times and Temperatures
Techniques vary depending on what you are making, so it’s crucial to have an understanding of appropriate cooking times and temperatures. Keep these tips in mind when using your Dutch oven:
Cooking Times and Temperatures
| Type of Dish | Recommended Temperature and Time |
|---|---|
| Stews and Soups | Low Heat (200-300°F) for 2-4 hours |
| Baking Bread | High Heat (450°F) for 30-40 minutes |
| Roasting Meats | Moderate Heat (350°F) for 1-2 hours |
With the right temperature settings and timing, you can create a variety of flavorful dishes using your Dutch oven. Always refer to trusted recipes to guide your cooking times, and feel free to adjust based on your own preferences and ingredients. Experimenting will help you discover what works best for your family and create memorable mealtime experiences.
Optimal Cooking Tips
| Cooking Context | Tip |
|---|---|
| High-altitude cooking | Increase time by 10-15% for best results |
| Slow cooking | Utilize low settings for rich flavors |
| Pressure cooking | Adjust liquid amounts but keep times shorter |

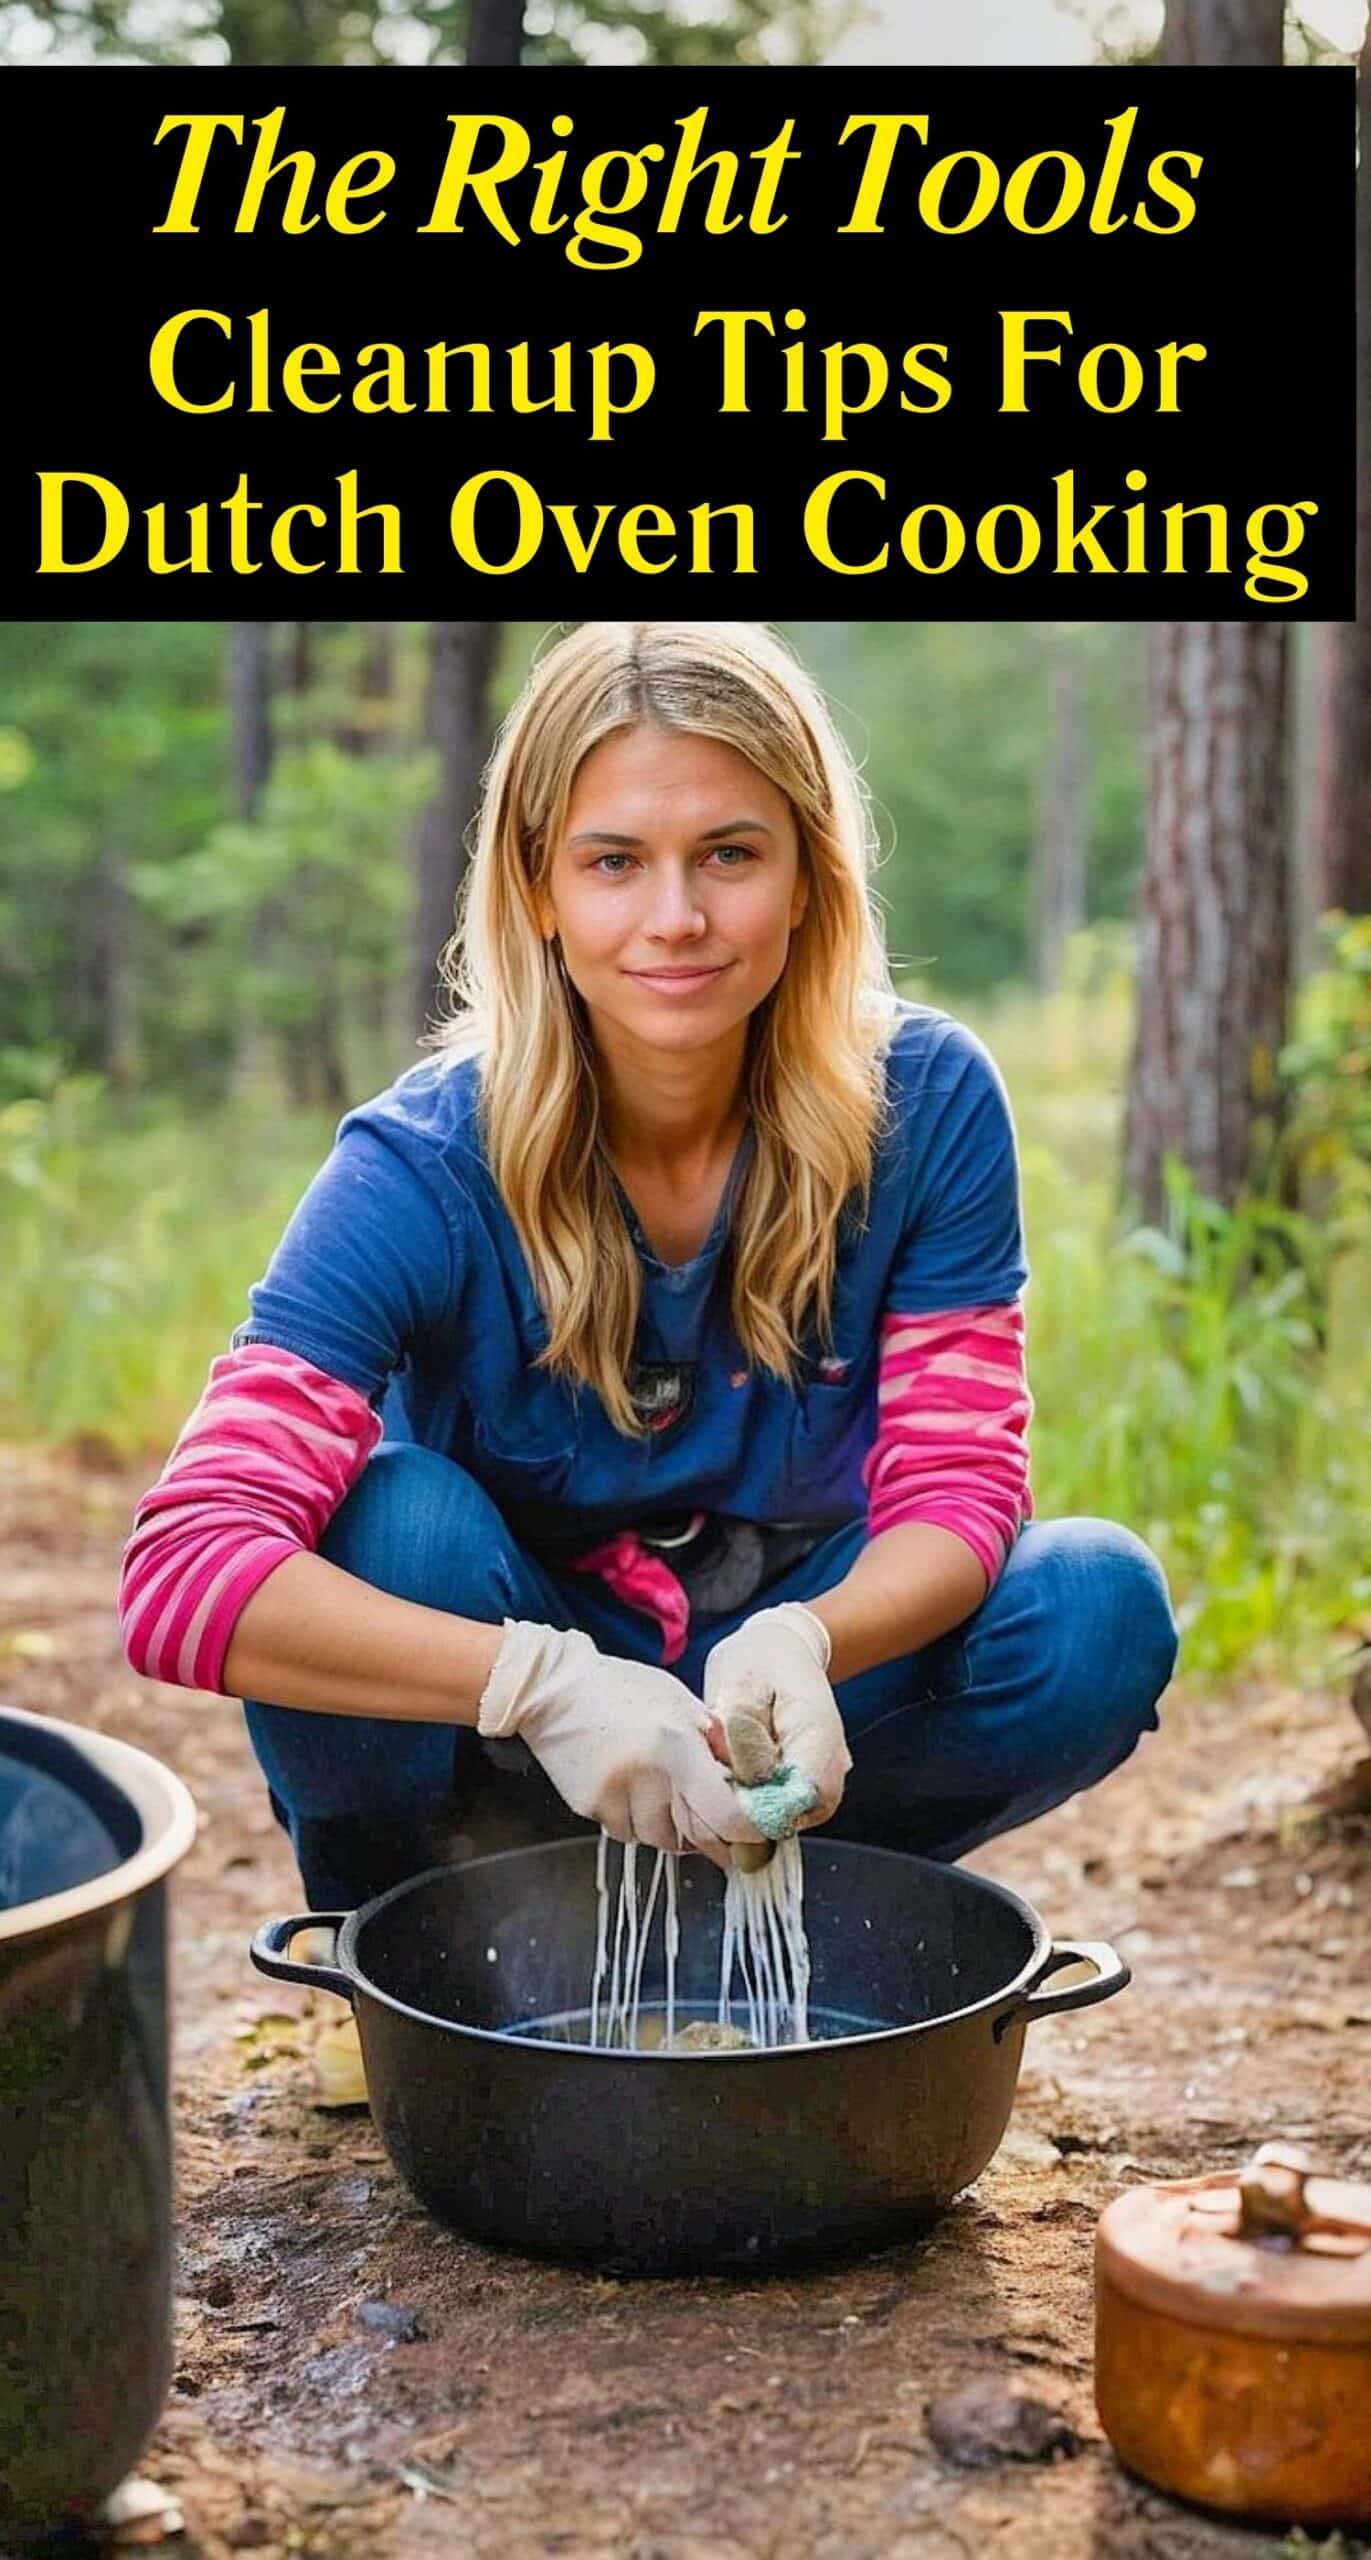
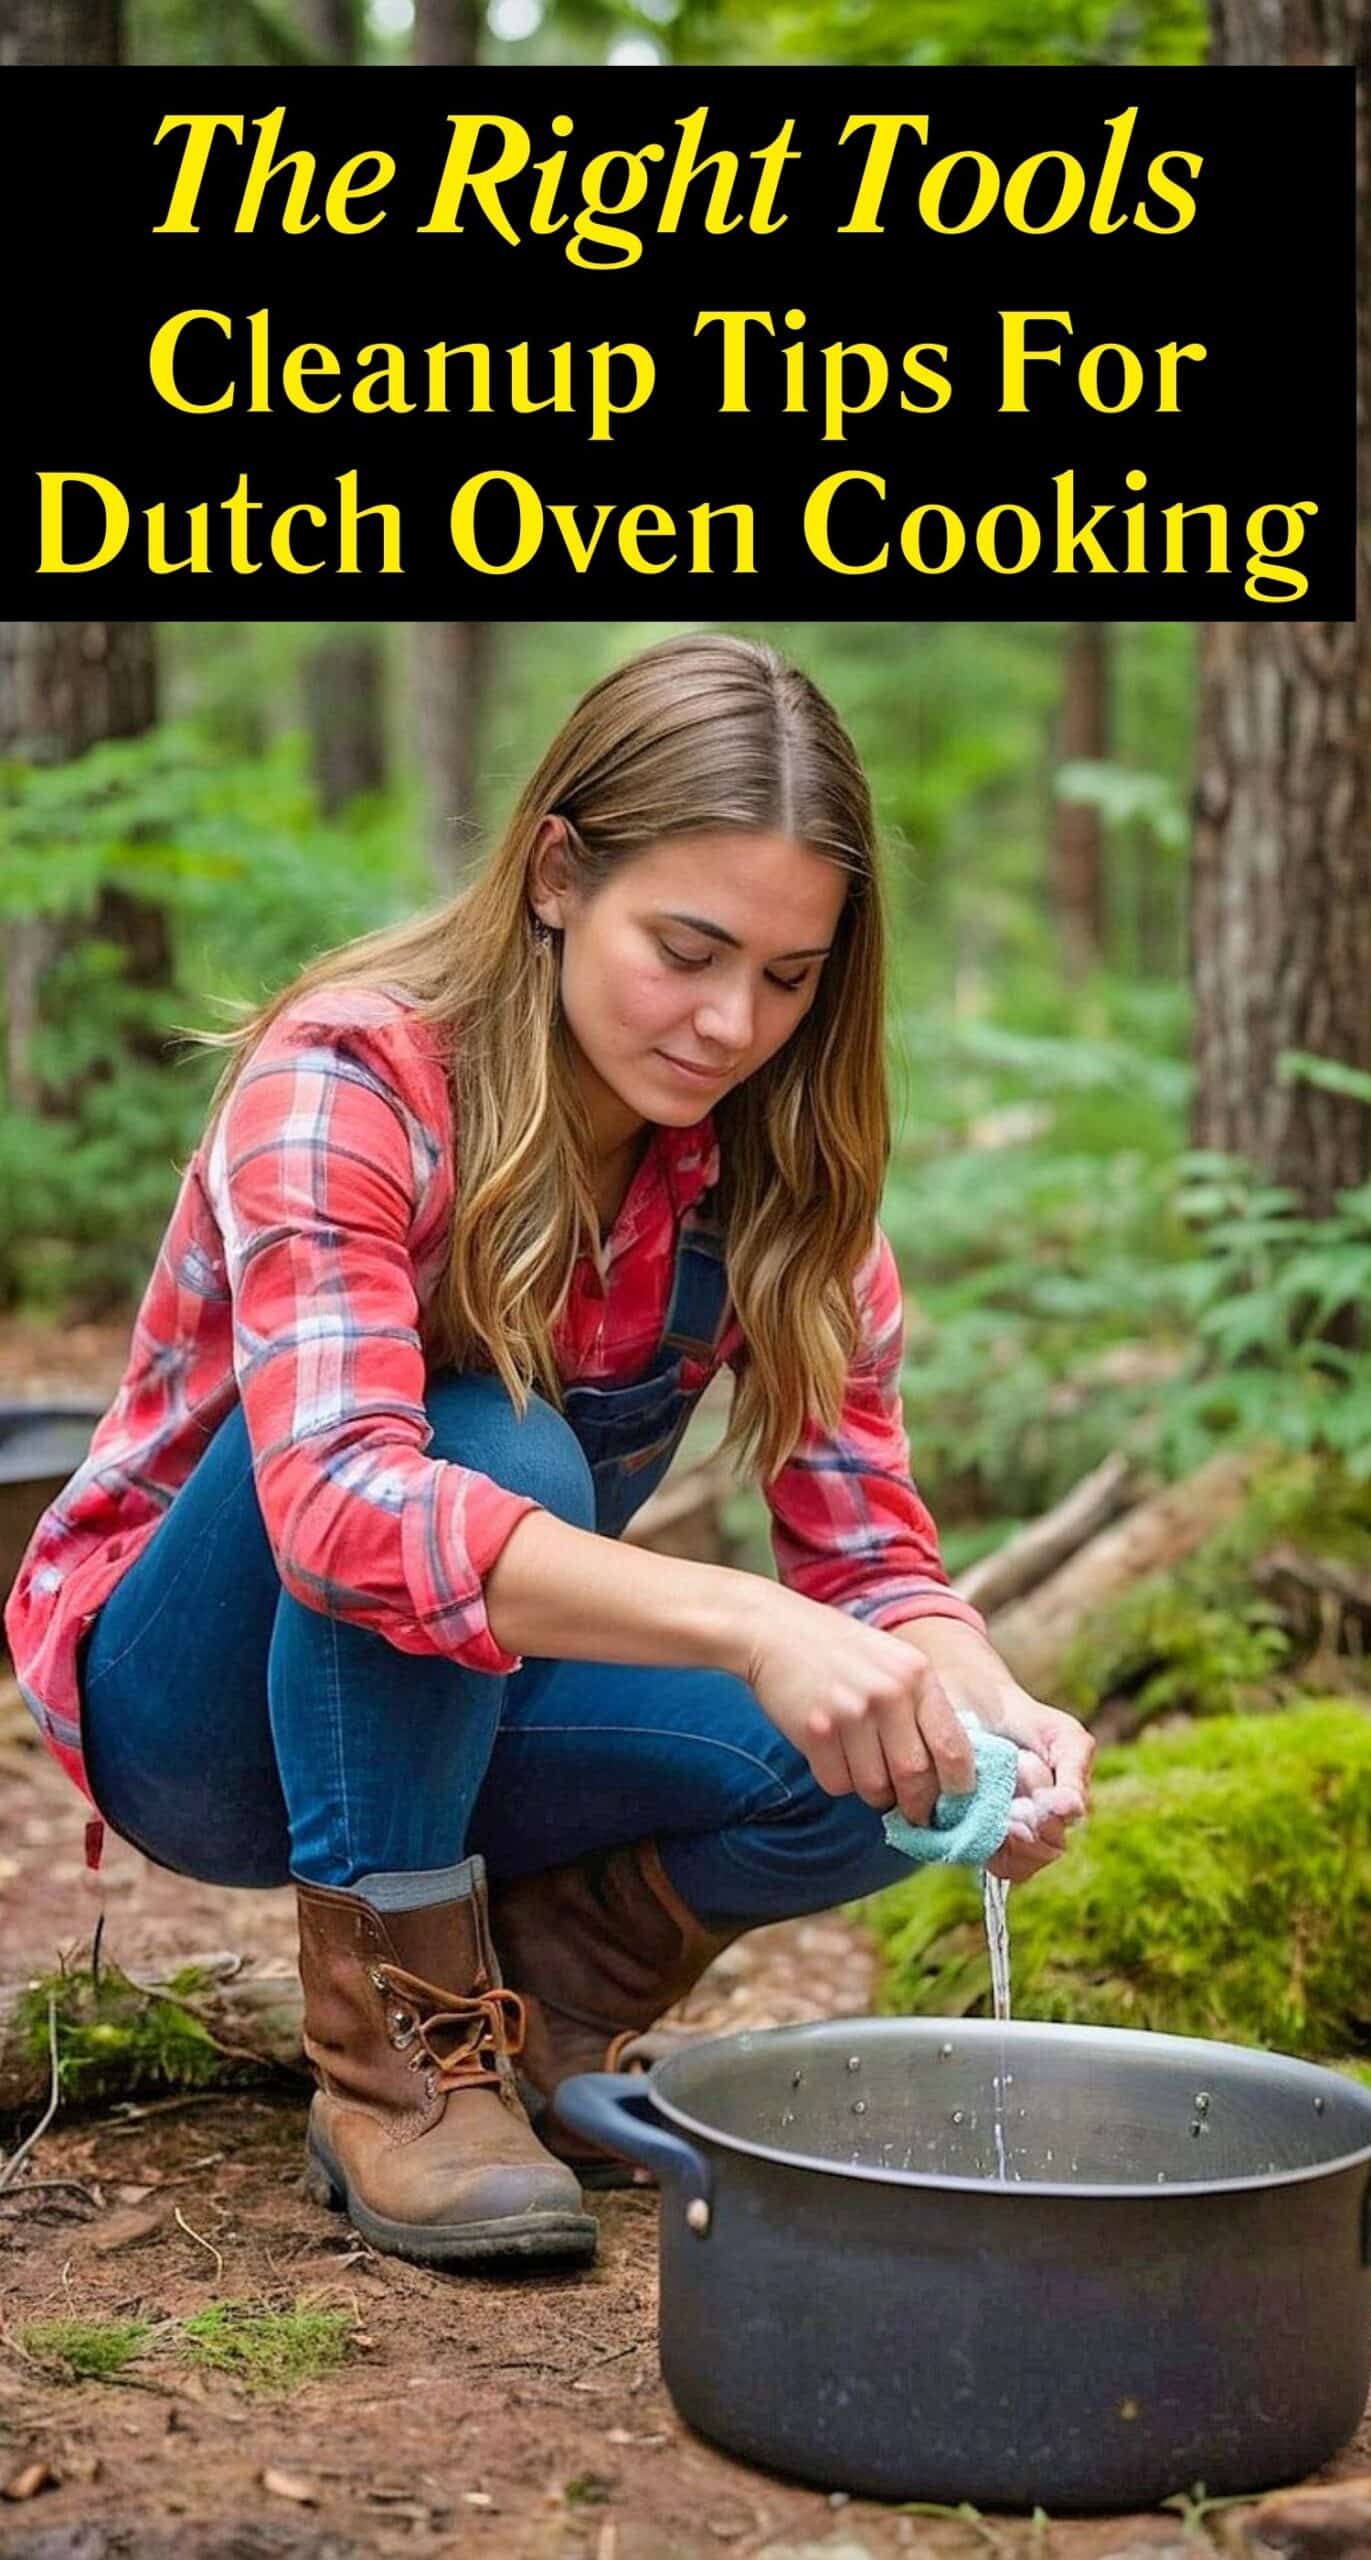
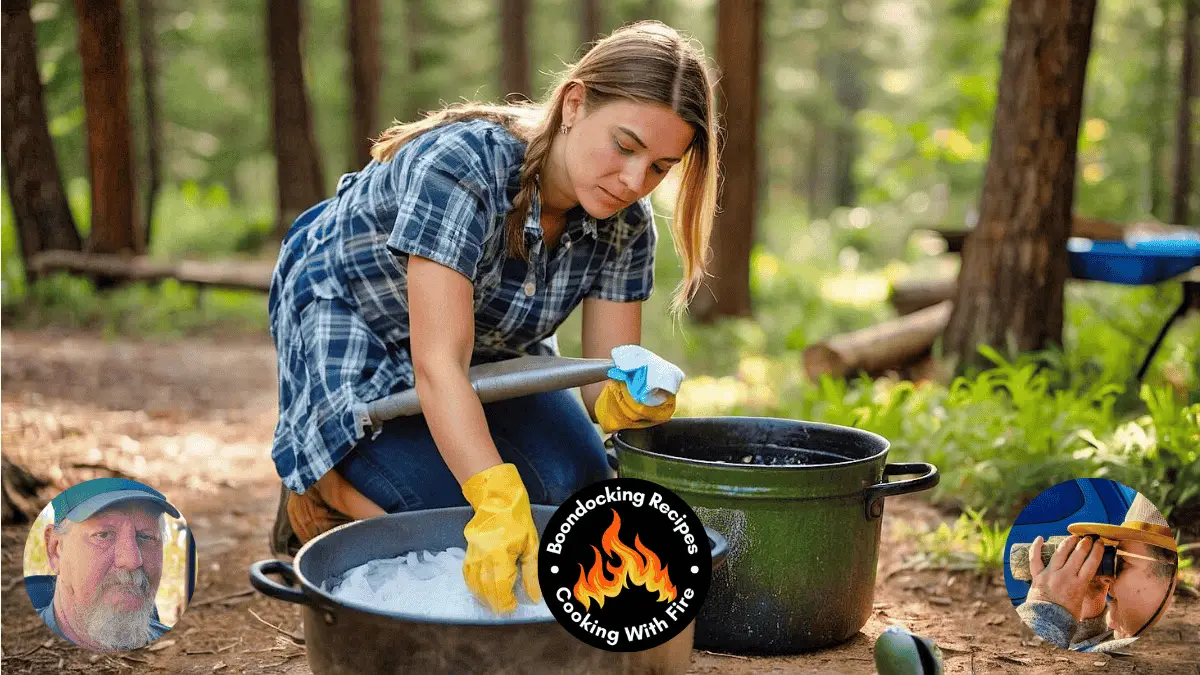
Cleanup Tips After Cooking
To ensure your Dutch oven remains a trusty companion in your culinary adventures, it’s crucial to implement effective cleanup techniques. Whether you’re preparing a delicious family meal or recreating a favorite recipe outdoors, your cleanup routine can set the tone for future cooking experiences. With the right cleanup tips for Dutch oven cooking, you can keep your equipment in top shape, ready for the next gourmet delight.
Immediate Cleanup Practices
Any time you finish cooking, it’s crucial to tackle the mess right away, before residue becomes stubborn and harder to remove. Start with these immediate cleanup practices:
- Let your Dutch oven cool slightly but never submerge a hot pot in cold water, as this can warp it.
- Use a spatula or wooden spoon to gently scrape off any stuck-on food particles.
- Rinse the pot with warm water, using a soft sponge or cloth to wipe down the surfaces.
- For tough spots, sprinkle a bit of baking soda on the area and scrub lightly.
Thou should follow these steps promptly to prevent any food residue from becoming a sticking point for your next meal preparation.
Deep Cleaning Your Dutch Oven
Even with careful immediate cleanup, sometimes your Dutch oven may require a more thorough clean to maintain its performance and appearance. Deep cleaning is especially important if you’ve cooked something particularly sticky or greasy. This process doesn’t need to be daunting; simple methods can effectively restore your pot.
Immediate attention should be given to any significant buildup. Start by checking for any discoloration or stubborn stains. To tackle these, create a paste of baking soda and water, applying it to stained areas and letting it sit for a few minutes before scrubbing. For cast iron Dutch ovens, be mindful to avoid harsh detergents, which can strip away the crucial seasoning. Instead, opt for mild soap when rinsing or soak your pot in warm, soapy water briefly if needed. This will keep your Dutch oven in prime condition, ensuring many more delicious recipes to come!
Factors to Consider for Efficient Cleanup
Now that you’ve modeled your culinary creations in a trusty Dutch oven, it’s time to consider the cleanup process. A well-planned approach can save you significant time and effort, making the transition from delicious meals to tidy cookware effortless. Here are some key factors to keep in mind:
- Type of food cooked
- Cleaning tools and products
- Burnt-on residue
- Storage and maintenance
This methodical focus will ensure your Dutch oven remains in top condition for many more family meals and camping adventures.
Type of Food Cooked
Little do many cooks realize that the type of food you prepare can greatly influence the cleanup process associated with Dutch oven cooking. For instance, meals that are rich in sauces or have sticky ingredients, like stews or casseroles, tend to leave behind more residue. A good tip is to consider preparing lighter dishes such as roasted vegetables or grilled meats, which typically result in less mess.
Additionally, foods that produce greasy splatters may require a more intensive cleaning regime. Understanding what you are cooking not only helps you anticipate the cleanup but can also guide you in possibly adjusting your recipes to reduce the amount of scrubbing needed afterward. Pairing your chosen dish with appropriate preparation techniques can lead to easier cleanup.
Cleaning Tools and Products
While the right cleaning tools and products may seem trivial, they can make all the difference in your cleanup process. For example, using a non-abrasive sponge or a soft-bristled brush is important for preserving the enamel of your Dutch oven while effectively removing stubborn food remnants. Make sure you also have a good supply of baking soda on hand; it’s a great natural abrasive that can lift tough stains without damaging the surface.
To enhance your cleanup experience, consider including some important cleaning products in your cooking kit, such as cast iron conditioner for season maintenance, and flexible silicone spatulas designed to scrape down sides without scratching. A versatile, eco-friendly cleaner can also help you tackle any greasy residue without leaving harsh chemical scents that may linger in your food. Recall, well-maintained tools and proper products make for swift and efficient cleanup.
This effective combination will not only ensure a sparkling clean Dutch oven after your cooking adventures but will also contribute to the longevity of your beloved cookware.

Not Just Another Cooking Tool: Pros and Cons of Dutch Oven Cooking
Pros and Cons of Dutch Oven Cooking
| Pros | Cons |
|---|---|
| Versatile cooking methods (baking, frying, stewing) | Heavy and can be difficult to handle |
| Excellent heat retention for even cooking | Potential for rust if not properly maintained |
| Durable materials last for years | Requires additional time for cleaning |
| Great for outdoor cooking and campfires | Initial cost can be high |
| Can enhance flavors with slow cooking | Can be challenging to find storage space |
| Minimal preheating required | Limited features compared to modern appliances |
| Family-friendly cooking option (great for large meals) | Heavy clean-up required for baked-on residue |
| Available in various sizes to suit different needs | Not ideal for quick meals |
| Enhances your cooking repertoire with diverse recipes | Temperature control can be tricky |
| Easy to carry for outdoor adventures | Can take longer to preheat |
Advantages of Using Dutch Ovens
Cooking with a Dutch oven opens up a world of culinary possibilities for you. You can slow-cook stews, bake bread, and even fry chicken, making it an incredibly versatile tool in your kitchen. The unique design and material make Dutch ovens perfect for retaining heat, which leads to even cooking. No matter whether you’re simmering a savory soup or making a delicious casserole, you’ll notice the difference in flavor and texture. Because of their durability, many Dutch ovens can also be used on campfires, connecting you to the outdoors while preparing meals.
Another major advantage is their ability to enhance the cooking process for family-style dinners. You can prepare enough food to feed everyone, making Dutch ovens ideal for gatherings or camping trips. The slow-cooking aspect of this kitchen tool allows flavors to meld beautifully, delivering rich and satisfying meals that your family will cherish. You’ll find yourself reaching for your Dutch oven time and again not only for its practicality but also for the delicious recipes you can create together.
Potential Drawbacks
With all great tools come some drawbacks, and Dutch ovens are no exception. While they are wonderful for many cooking needs, their heavy weight can make them cumbersome to lift, especially when filled with food. Moreover, Dutch ovens often need some dedicated care to avoid rusting or scratching of the surface. Without proper maintenance and cleaning, baked-on residue can become quite a hassle, making cleanup more time-consuming than with some other cookware.
Ovens that are made of cast iron or enameled materials can also require careful handling to prevent chips or cracks. In addition, their bulkiness may lead to storage challenges in your kitchen, especially if you are limited on space. While they are excellent for slow cooking, if you’re in a hurry, a Dutch oven may not be the best option for quick meal prep. By understanding both the benefits and the limitations of Dutch ovens, you can make informed decisions about when to use them in your cooking adventures.
Conclusions
As a reminder, incorporating cleanup tips for Dutch oven cooking into your routine can significantly enhance your cooking experience, especially when you’re immersing yourself in the great outdoors. Taking a proactive approach will not only save you time but also ensure that your cherished Dutch oven is maintained in optimal condition for years to come. Note, a well-cared-for Dutch oven not only ensures delicious meals but also fosters memorable moments with your family around the campfire or at home.
In brief, by following these simple yet effective cleanup tips for Dutch oven cooking, you can enjoy your culinary adventures without the stress of tough cleaning jobs afterward. Embrace the joy of cooking and savor the flavors of your favorite recipes while keeping your cookware in tip-top shape. With just a little effort and the right techniques, you can turn post-meal cleanup into a quick, easy process and continue to create fantastic dishes for your loved ones.

FAQs for Campfire Cleanup Tips for Dutch Oven Cooking
Q: What are the best campfire cleanup tips for Dutch oven cooking?
A: For campfire cleanup tips for Dutch oven cooking, allow the Dutch oven to cool slightly after use. Scrape off food residue with a brush or spatula, then wash it with hot water. Avoid soap to preserve the seasoning, and dry the Dutch oven thoroughly to prevent rust.
Q: How do I handle stubborn food residue using campfire cleanup tips for Dutch oven cooking?
A: To tackle stubborn food residue using campfire cleanup tips for Dutch oven cooking, mix coarse salt with a little water to create a scrubbing paste. Use a brush to gently scrub the residue. If needed, simmer water in the Dutch oven to loosen food before scrubbing.
Q: What are some effective campfire cleanup tips for Dutch oven cooking to prevent rust?
A: Effective campfire cleanup tips for Dutch oven cooking to prevent rust include thoroughly drying the Dutch oven after washing and applying a thin layer of vegetable oil or cast iron seasoning oil. This helps maintain the seasoning and protects the pot from moisture.
Q: Can soap be used in the campfire cleanup tips for Dutch oven cooking?
A: Soap is generally not recommended in the campfire cleanup tips for Dutch oven cooking, as it can strip away the seasoning. Instead, use hot water and a brush or scraper. If soap is necessary, make sure to re-season the Dutch oven after washing.
Q: How should I store my Dutch oven after following campfire cleanup tips for Dutch oven cooking?
A: After following campfire cleanup tips for Dutch oven cooking, store your Dutch oven in a dry, cool place. Place a paper towel or cloth between the lid and the pot to allow for air circulation and prevent moisture buildup, which can cause rust.
Other Cooking Posts to Read
Oil For Searing Steak In Cast Iron
Top Cast Iron Fryer With Basket Cooking Tips
Cast Iron Cooking Pots With Legs
Top Cast Iron Deep Fryer Pan For Camping
