
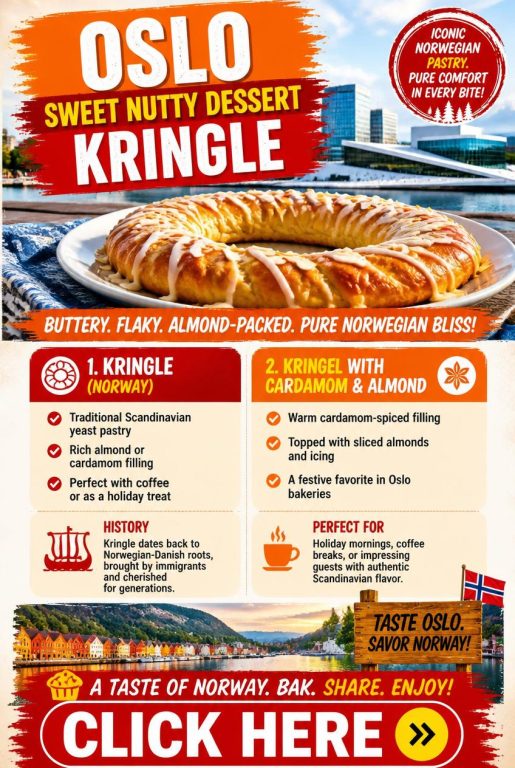
I’ll admit it—when I first stumbled across Oslo Kringle, I expected some cryptic Scandinavian baking challenge. But Norwegian Oslo Kringle is honestly way more approachable than it sounds. Oslo Kringle gives you a layered pastry: flaky pie crust, a cream puff-like topping, and sweet almond icing. It looks like a patisserie showpiece but, I promise, it’s not rocket science.
It’s the dessert version of waltzing into a party and making everyone think you slaved away for hours, when really, you just followed some clear steps. The texture mimics a cream puff—no choux pastry headaches, just buttery layers. And those glossy rivers of almond icing? They make you look like you know your way around a piping bag, even if you’re winging it.
I’ll walk you through the Norwegian Oslo Kringle basics—its oddball backstory, baking tricks, and a few ways to make you look like a pastry wizard. Whether you’re aiming to impress brunch guests or just want something sweet with your coffee, Norwegian Oslo Kringle won’t let you down.

Oslo Kringle Sweet Nutty Dessert
Key Takeaways
- Norwegian Oslo Kringle pairs a flaky base, cream puff topping, and almond icing for a dessert that looks fancy but is totally doable
- This pastry has Norwegian roots and fits in at breakfast, dessert, or coffee breaks
- Store your Norwegian Oslo Kringle right to keep it fresh, and don’t be afraid to try new fillings or toppings
Chill Tales: Oslo Sweet Nutty Braided Dessert Origins & Epic Sagas
Alright, confession time. The kringle didn’t even start in Oslo. Classic, right?
This twisted pastry legend first appeared in Denmark, where bakers started braiding dough and packing it with nuts back in the 1600s. “Kringla” just means circle or ring in old Norse. Not the most poetic, but hey, Vikings liked things straightforward.
The Kringle’s Journey:
- Originated in Denmark as a pretzel-shaped treat
- Danish bakers carried it to America in the 1800s
- Wisconsin made it their official state pastry in 2013
- Norwegian Oslo Kringle versions pop up with local quirks
When I first heard of kringle, I pictured some over-the-top ice cream dessert. Nope, it’s way simpler.
Norwegian Oslo Kringle happened when Norwegian bakers took the Danish classic and tweaked it—more local nuts, a new level of sweetness. It’s like your neighbor “borrowing” your recipe but swearing their version is superior because they used fancy butter.
The old-school kringle required bakers to fold in butter over and over for those flaky layers. Honestly, my arms ache just thinking about it. These days, stand mixers save us from that workout, but the magic of Norwegian Oslo Kringle stays the same.
Whisking With Wit: Oddly Useful Tips
Keeping my butter ice-cold is a total game-changer for Norwegian Oslo Kringle. I stick it in the freezer for a bit before working it into the dough. It’s the difference between decent and “whoa, did you buy this?”
I’ll grab a pizza cutter to slice dough strips for braiding. It’s faster than a knife and, honestly, just more fun. Makes me feel like I should be on some baking competition show.
Temperature’s huge. Norwegian Oslo Kringle dough hates a warm kitchen. I use a marble slab or cool down my counter with ice packs wrapped in towels before rolling it out. The dough stays chill, and so do I.
For the almond filling, I toast the almonds for five minutes at 350°F. Suddenly, they’re not just nuts—they’re fragrant and golden. Just keep an eye on them. Burnt almonds are, well, tragic.
I always make extra glaze. Always. There’s no such thing as too much sweet almond icing on Norwegian Oslo Kringle.
My favorite tips:
- Brush egg wash on the dough only, not in the creases
- Let Norwegian Oslo Kringle cool all the way before glazing—otherwise, you’ll get a puddle, not a drizzle
- Use parchment paper instead of greasing the pan—cleanup is for another day
- Cover unused dough with a damp towel to keep it from drying out
Dental floss works wonders for slicing rolled dough. It cuts cleanly and doesn’t squash the layers. Try it on your next Norwegian Oslo Kringle—seriously, it’s a little bit genius.
Oslo Sweet Nutty Dessert (Kringle)
Plot Twists: Wild Norwegian Kringle Variations
Norwegian Oslo Kringle bakers don’t always stick to tradition. The classic’s great, but sometimes people just get creative. I’m all for it, honestly.
Creative Filling Options:
- Cinnamon sugar – The original kringle filling
- Ground almonds – My personal go-to for that nutty punch
- Chopped apples – Fancy up your fruit intake
- Brown cheese – Yes, brunost in dessert. Norway’s wild like that.
The brown cheese thing? I hesitated, but in Norway, brunost goes on everything—waffles, toast, and now Norwegian Oslo Kringle. It adds this sweet, caramel vibe that’s surprisingly perfect with buttery pastry.
Toppings get wild too. Some folks ditch the almond icing for chocolate drizzle. Others toss cardamom into the dough for a spicy surprise.
Shapes? Anything goes. Instead of the classic wreath, people make single portions or even rectangles. If it’s got that sweet, nutty filling and flaky layers, it’s still Norwegian Oslo Kringle to me—even if grandma would raise an eyebrow.
Honestly, I’d say start with the classic Norwegian Oslo Kringle, then play around. Worst case, you end up with a slightly odd pastry. Still delicious, still worth it.
Hiding the Evidence: Storing Your Kringle
Let’s talk about the best “problem” you’ll face: leftover Norwegian Oslo Kringle. Not that it lasts long at my place—it vanishes faster than my will to fold laundry.
If I do have extra, I stash my Norwegian Oslo Kringle on the counter in its bakery bag. It stays fresh for 5-7 days at room temp. That flaky texture sticks around, trust me.
Short-term storage options:
- Counter in wax bakery bag: 5-7 days
- Airtight container at room temp: up to 2 days
- Fridge in airtight container: up to 5 days
Planning ahead—or hiding it from yourself? I let Norwegian Oslo Kringle cool fully, then wrap it up and freeze it. Frozen kringle keeps for up to 2 months.
Thawing takes patience, which I’m not great at when pastry’s involved. I leave it on the counter for about an hour. The flakiness comes right back.
Honestly, good storage isn’t just about safety. It’s about making sure that next slice tastes as good as the first. Plus, knowing there’s Norwegian Oslo Kringle in the freezer makes any bad day better.
Oslo Kringle Sweet Nutty Dessert Cooking Tips
Oslo Kringle Sweet Nutty Dessert Recipe Cooking Tips
• Kringle is known for its flaky pastry, buttery richness, and sweet nut-filled center.
• Norwegian-style kringle is often shaped into an oval, pretzel, or ring and served for celebrations and coffee gatherings.
• A rich yeast dough or laminated pastry dough creates the traditional tender texture.
• Butter is essential for achieving a flaky, flavorful pastry.
• Ground cardamom adds the classic Norwegian aroma and warmth.
• Almonds are the most traditional nut filling, though walnuts or hazelnuts can also be used.
• Brown sugar adds caramel sweetness that pairs beautifully with the nuts.
• A touch of cinnamon enhances the filling without overpowering it.
• Finely chopped nuts distribute more evenly throughout the pastry.
• Allow the dough to rise fully for a lighter, more tender kringle.
• Avoid overfilling to prevent leaks during baking.
• Bake until golden brown and fragrant.
• A simple powdered sugar glaze adds sweetness and an attractive finish.
• Toasted sliced almonds make a traditional garnish.
• The flavor should balance buttery pastry, sweet nuts, cardamom, and light glaze.
• Kringle is often served with coffee during holidays, birthdays, and family gatherings.
EPCOT Norway School Bread Storage Tips
Oslo Kringle Sweet Nutty Dessert Storage Tips
• Allow the kringle to cool completely before storing.
• Store in an airtight container or wrapped tightly to maintain freshness.
• Room-temperature storage works well for short-term enjoyment.
• Refrigeration may firm the pastry slightly, which is normal.
• Warm slices briefly before serving to refresh the buttery aroma and texture.
• Nut and cardamom flavors often deepen after overnight storage.
• Freeze portions in airtight freezer-safe wrapping if desired.
• Separate slices with parchment paper before freezing for easier serving.
• Defrost frozen kringle gradually at room temperature before serving.
• Add fresh glaze after thawing if desired for the best appearance.
• Use clean dry utensils when handling leftovers to help maintain freshness.
• Pastries are generally best enjoyed within a shorter storage period for ideal texture and flavor.
• Keep away from strongly scented foods because pastry absorbs odors easily.
• Discard leftovers if the pastry develops mold, rancid nut odors, or unusual texture changes
Oslo Kringle Sweet Nutty Dessert
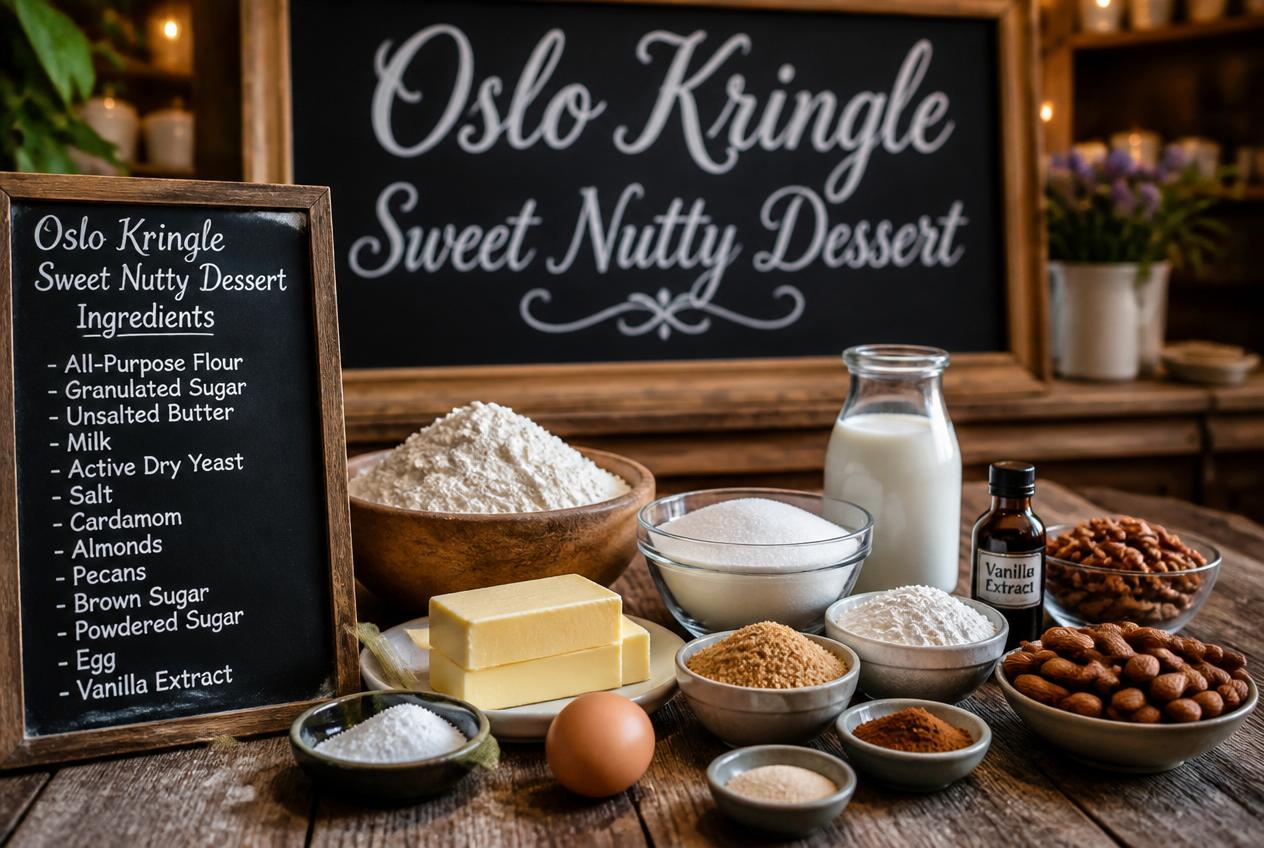
Ingredients
- 1 cup all-purpose flour
- ½ cup butter
- 1 tablespoon water or as needed
- 1 cup water
- ½ cup butter
- 1 cup all-purpose flour
- 3 eggs
- 1 teaspoon almond extract
- 1 cup confectioners' sugar
- 1 tablespoon heavy cream
- 1 tablespoon butter softened
- 1 teaspoon almond extract
Instructions
- Preheat your oven to 350 degrees F (175 degrees C) and position a rack in the center of the oven. To make the pastry base, place 1 cup of flour into a mixing bowl and cut in the ½ cup of cold butter using a pastry blender, two knives, or your fingertips. Continue working the butter into the flour until the mixture resembles coarse crumbs with pea-sized pieces of butter still visible. These small pieces of butter help create a tender, flaky crust once baked.
- Add just enough water, one tablespoon at a time, to bring the dough together. The dough should remain slightly crumbly rather than forming a smooth ball. Turn the mixture out onto a lightly floured work surface and gently press it together. Roll the dough into a rectangle approximately 3 to 4 inches wide and long enough to fit comfortably on a rectangular cookie sheet or jelly roll pan. Transfer the rolled dough to the baking sheet, pressing lightly to ensure it lies flat and even. Set aside while preparing the filling.
- In a small saucepan, combine 1 cup of water and ½ cup butter. Place over high heat and bring the mixture to a full boil, allowing the butter to melt completely. Once boiling, immediately remove the saucepan from the heat and add the flour all at once. Stir vigorously with a wooden spoon until the mixture comes together into a smooth dough and pulls away from the sides of the pan. The dough should form a single mass with no dry flour remaining.
- Allow the mixture to cool for a few minutes so the eggs do not cook when added. Beat in the eggs one at a time, mixing thoroughly after each addition. At first, the dough may appear separated or lumpy, but continue mixing and it will become smooth, glossy, and thick. Once all the eggs have been incorporated, stir in the 1 teaspoon almond extract. The finished filling should be silky and spreadable with a rich, custard-like consistency.
- Spread the prepared filling evenly over the pastry base, taking care to reach all corners and edges. The filling may seem thick, but it will puff dramatically during baking and create the signature light, airy layer beneath the crust.
- Place the baking sheet into the preheated oven and bake for 55 to 60 minutes, or until the pastry is deeply golden brown and fully set. During baking, the filling will rise significantly and develop a beautiful puffed appearance. As the pastry cools, it is completely normal for it to settle and fall slightly. This creates the characteristic texture of traditional Scandinavian almond pastry.
- While the pastry is baking, prepare the icing. In a medium bowl, combine the confectioners' sugar, cream, 1 tablespoon butter, and 1 teaspoon almond extract. Whisk until completely smooth and creamy. The icing should be thick enough to spread easily while still flowing gently across the warm pastry. If necessary, adjust the consistency with a small amount of additional cream or confectioners' sugar.
- As soon as the pastry comes out of the oven, spread the icing evenly over the hot surface. The warmth of the pastry will help the icing melt slightly, creating a smooth, glossy finish that seeps into the top layer. Allow the pastry to cool before slicing into squares or rectangles for serving.
- The finished pastry features a flaky bottom crust, a light and airy almond-scented filling, and a sweet almond glaze on top. It is delicious served with coffee, tea, or as part of a brunch spread, and the flavors often become even better after resting for a few hours.
Frequently Asked Questions
Norwegian Oslo Kringle can spark a lot of questions—everything from filling disasters to dough drama. I’ve tackled the most common ones, so you can keep your braid neat and your pastry soft.
What’s the difference between a kringle and a cinnamon roll that went to finishing school?
Norwegian Oslo Kringle is basically a yeast-based pastry with cinnamon sugar that got stretched out and fancied up. Norwegian cinnamon buns (skillingsboller) curl into single spirals, but Norwegian Oslo Kringle connects all those swirls in one big, showy wreath.
The texture’s close to regular cinnamon rolls. But instead of slicing them apart, I braid or twist the dough into a circle. It’s like sweatpants at a wedding—same comfort, just dressed up.
Which nuts work best in a braided pastry without turning it into edible gravel?
Ground almonds win, hands down. They blend into the filling and never turn into jawbreakers. I grind them fine (not powdery), or use chopped almonds in tiny pieces—think coarse breadcrumbs.
Walnuts or pecans? Sure, just chop them super fine. Nobody wants a surprise chunk in their Norwegian Oslo Kringle that could chip a tooth.
How do I keep the filling from escaping like it’s late for a train to Oslo?
I use a thin, even layer of filling—no giant globs. I seal the edges well before braiding, pinching seams tight so there’s nowhere for the filling to run. Rolling the dough too thin is a rookie move; if I can see through it, the filling’s definitely going to bail during baking.
Norwegian Oslo Kringle can be quirky, but once you get the hang of it, you’ll want to make it for every occasion. Or just because you feel like it. That’s honestly the best reason.
Can I make a cream cheese version without my braid looking like a dairy disaster?
Cream cheese filling needs to be thick enough to stay put. I mix it with powdered sugar and a bit of flour for more structure. If you’re making a Norwegian Oslo Kringle, this is even more important—nobody wants a runny mess inside their Norwegian Oslo Kringle, right?
I always chill the filled dough before baking. Cold cream cheese behaves itself way better than room temperature goo, especially in a Norwegian Oslo Kringle. It’s honestly made all the difference for me, and I’ve had my fair share of near-disasters.
When I spread the filling, I keep it in a narrow strip right down the center. I don’t go edge to edge—otherwise, sealing the Norwegian Oslo Kringle gets tricky, and I end up squishing everything out the sides. That’s just asking for trouble, in my experience.
Why did my kringle turn out dry—did I accidentally bake a fancy doorstop?
Overbaking usually ruins it. I pull my Norwegian Oslo Kringle out when it’s golden brown but still soft to the touch. If it sounds hollow like a drum, it’s probably too late. Norwegian Oslo Kringle really doesn’t forgive overbaking.
Adding too much flour can also dry things out. I try to measure carefully and stop adding flour once the dough is just barely tacky. For a Norwegian Oslo Kringle, this is crucial—too much flour and you lose that tender bite everyone loves.
Skipping the egg wash or glaze? That’s a rookie mistake. A little moisture on top keeps the Norwegian Oslo Kringle’s crust tender instead of turning it into something sad and crusty. I’ve learned to never skip this step, even if I’m in a hurry. Norwegian Oslo Kringle deserves better.
Honestly, making the perfect Norwegian Oslo Kringle takes a bit of patience, but once you get the hang of it, you’ll start craving that soft, slightly sweet bite. If you’re still struggling, maybe try tweaking just one thing at a time. Norwegian Oslo Kringle isn’t supposed to be complicated, but it does want your attention.
Where can I buy a good Danish-style kringle nearby when baking confidence is running low?
Some Scandinavian bakeries and specialty food stores carry authentic kringles. I usually check for Norwegian or Danish bakeries in my area first—though, honestly, finding a true Norwegian Oslo Kringle is a whole different hunt.
Online retailers will ship frozen kringles you can bake at home. They probably won’t judge your lack of braiding skills, which is nice. I’ve seen a few places label their pastries as Norwegian Oslo Kringle, but you’ve gotta wonder if they even know what that means.
Honestly, even a messy homemade kringle tastes better than a perfect store-bought one. My ugly kringles have never complained about their appearance, and neither has anyone who’s tried a slice. Still, when my baking confidence tanks, I’ll admit I start Googling “Norwegian Oslo Kringle near me” and hope for the best. If you ever spot a bakery with Norwegian Oslo Kringle in the window, let me know—I’ll drive across town for that.

Recipes are gathered in person and written for real-world cooking conditions.
- 10 Hungarian Dessert Recipes Passed Down Through Generations - July 25, 2026
- 11 Easy English Recipes Anyone Can Make - July 25, 2026
- Hungarian Kifli Recipe - July 25, 2026