
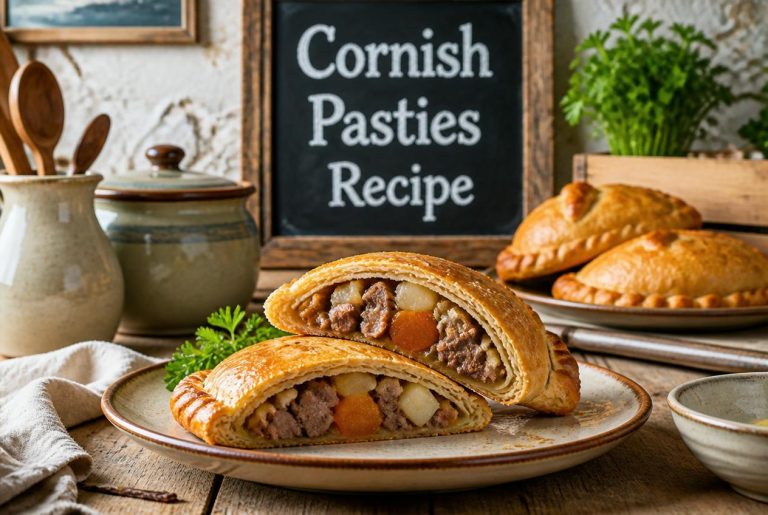
The Cornish Pasties Recipe is a hands-on meal that tastes like home and actually travels well? Let me walk you through a classic Cornish Pasties recipe with straightforward ingredients and easy steps. You’ll get a warm, savory pocket of beef and root vegetables—great for family dinners or packed lunches. Honestly, these pasties bake up in one pan, use basic shortcrust pastry, and deliver a hot, filling dinner that’s as comforting as it gets.
We’ll cover the traditional filling—beef skirt (or whatever similar cut you have), potatoes, swede (rutabaga), and onion. I’ll toss in some tips for flaky pastry and that signature crimp. If you’re after swaps or need to store leftovers, I’ve got you covered so your Cornish Pasties recipe stays fresh and delicious.
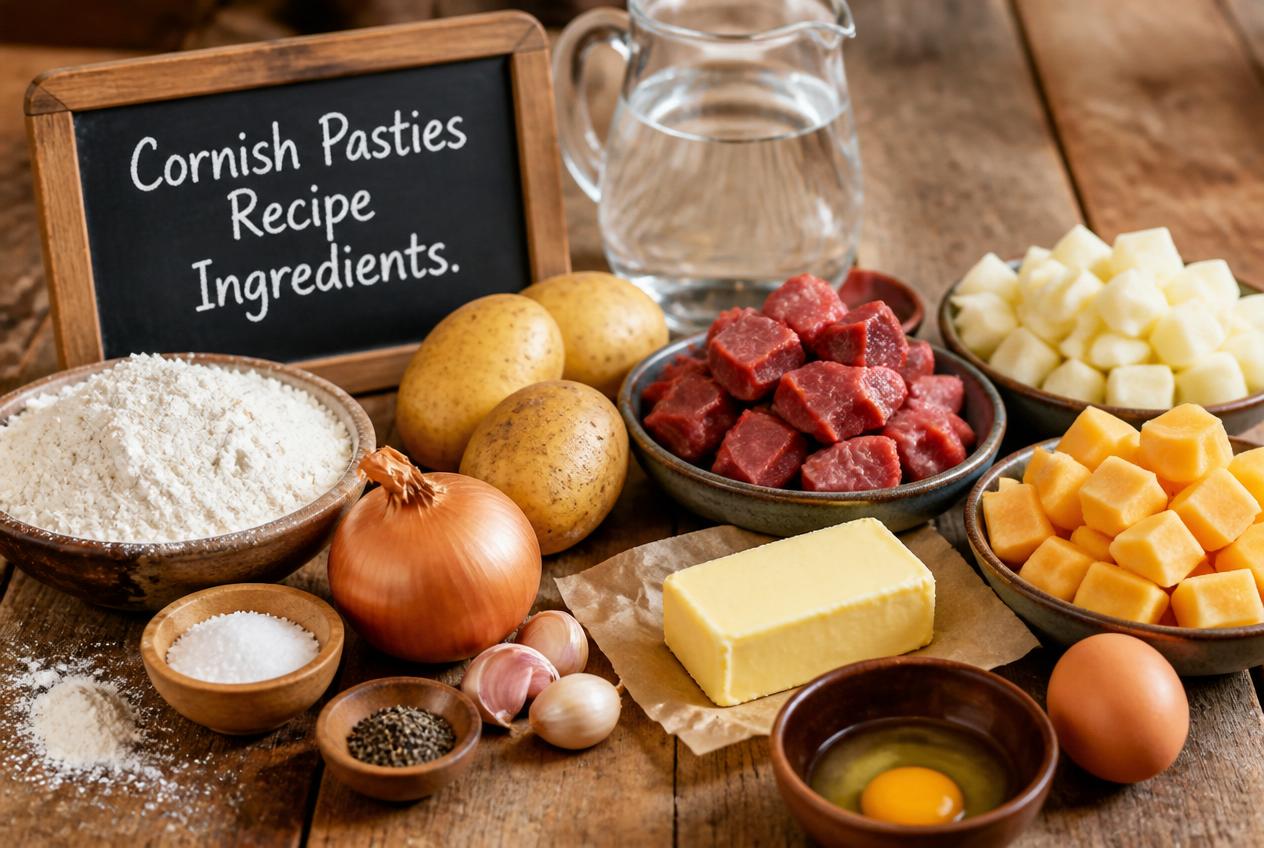
Cornish Pasties Recipe
Key Takeaways
- You can make a classic Cornish Pasties recipe with pantry staples.
- A few simple pastry and filling tricks get you a flaky crust and even cooking.
- Quick swaps and smart storage keep your Cornish Pasties recipe fresh for meals all week.
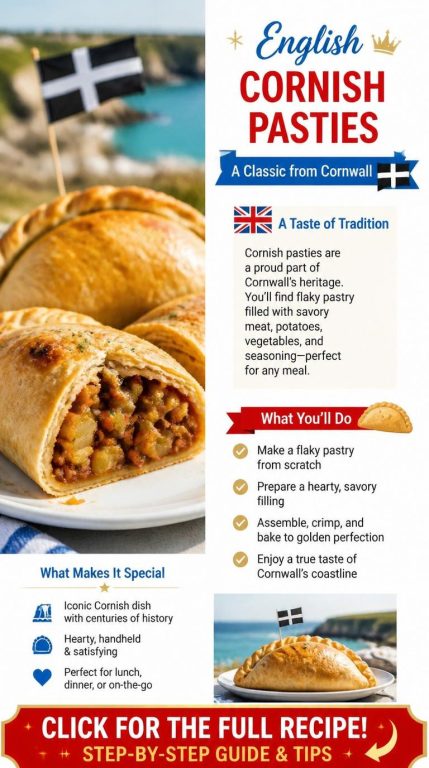
Exploring the History and Background
I grew up hearing about the Cornish pasty as a miner’s lunch. The folded, crimped design kept fillings warm and neat, making it easy to take down into the tin and copper mines—pretty clever, right?
By the 17th and 18th centuries, the Cornish Pasties recipe became a staple in Cornwall for a cheap, filling meal. Bakers would fill pastry with potato, swede, onion, and a bit of beef or pork so families could stretch what they had.
It’s easy to see the mining connection in how people made the pasties to be eaten by hand. Some say miners would hold the crust with dirty hands and toss it after eating the filling. Makes sense, honestly.
The pasty’s become a regional icon. If you want to dig deeper, check out this overview of the pasty’s history in Cornwall. The Cornish Pasties recipe really hasn’t changed much as it spread—practical, simple, and still true to its roots.
Practical Tips for Perfect Results
When I make a Cornish Pasties recipe, I keep it simple. Use cold butter and don’t overwork the dough—less handling means flakier shortcrust pastry. Chill that dough at least 30 minutes before rolling, or it’ll shrink while baking and nobody wants that.
For the filling, chop beef and veggies into small, even cubes so they cook evenly. Season well, but don’t go wild with the salt—the pastry needs some balance. If you’re pressed for time, grab pre-cut stewing beef and ready-made shortcrust pastry. No shame in shortcuts.
When assembling, I put the filling just off-center, then fold and crimp firmly to keep juices inside. I brush the tops with milk or beaten egg for that shiny golden color. If I’m baking a bunch, I use a preheated tray for a crisp bottom.
I check doneness by poking the thickest part; the meat should feel tender and juices run clear. For reheating, I cover with foil and warm gently so the pastry doesn’t go soggy. If you’re curious about classic techniques, this Easy Mary Berry Cornish Pasty Recipe is solid, or try a quick Cornish pasty guide if you’re in a rush.
Creative Twists and Alternative Ingredients
Sometimes I swap the usual beef for a vegetarian Cornish Pasties recipe when I want something lighter. Mushrooms, lentils, and diced root veggies give a nice texture and keep it hearty. I cook lentils first so they don’t make the pastry soggy—trust me, it helps.
For cheese fans, I’ll add sharp cheddar or a little goat cheese. It melts into the filling and gives a creamy kick, especially with thyme or rosemary. Go for a firm potato like Maris Peer so the filling doesn’t turn mushy.
Global flavors? Why not. A curried vegan Cornish Pasties recipe with cumin, coriander, and sweet potato is a winner. Or try a Mediterranean version with spinach, feta, and sun-dried tomatoes for something different.
Simple ingredient swaps can really change things up. Wholemeal or gluten-free pastry works for different diets, and cold olive oil makes a lighter crust. Sprinkle some seeds on top for crunch—it’s a small touch, but it works.
- Vegetarian ideas: mushrooms + lentils, spiced sweet potato, spinach + feta.
- Pastry swaps: wholemeal, gluten-free, or olive oil crusts.
- Flavor boosters: fresh herbs, a bit of mustard in the pastry, or a splash of stock in the filling.
Try small batches of your Cornish Pasties recipe first. That way, you can tweak the balance before committing to a full tray.
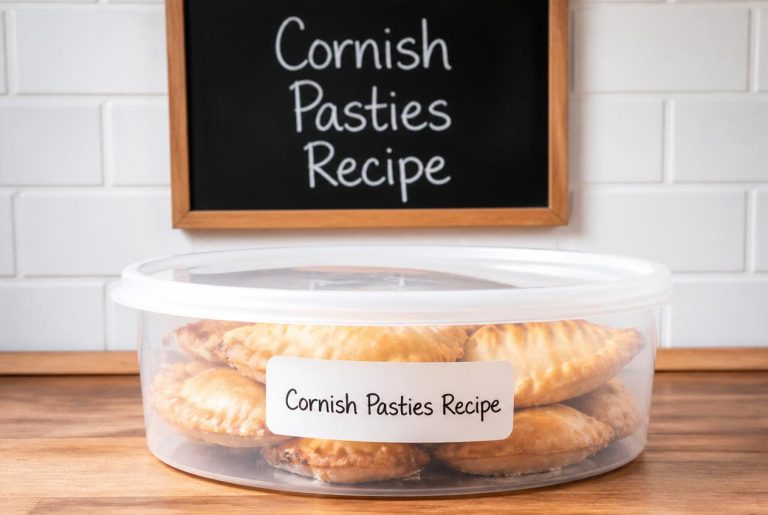
Proper Storage and Freshness
I keep baked Cornish pasties at room temp for up to two days, sealed up in an airtight container. That keeps the pastry crisp and the filling just right for a quick snack or lunch.
If I need to store them longer, I pop the Cornish Pasties recipe in the fridge for up to four days. I wrap each one in cling film or tuck them in a sealed box so they don’t dry out or pick up fridge smells.
For freezing, I wrap each Cornish Pasties recipe tightly in foil and toss them in a freezer bag. They’ll keep for about two months. When I want one, I let it thaw in the fridge overnight, then bake until hot.
I reheat by preheating the oven and warming pasties at 180°C (350°F) until heated through. Microwaving makes the pastry soft, so I only use it for a quick zap and then crisp them up in a hot oven for a few minutes.
I always label containers with dates. If a Cornish Pasties recipe smells weird, feels slimy, or shows mold, I toss it—better safe than sorry.
For more tips on freezing and cooking times, check out these pasty cooking instructions and storage recommendations: (https://www.pastiesbypost.com/cooking-instructions.html)
Cornish Pasties Recipe Cooking Tips
Cornish Pasties Recipe Cooking Tips
• Cornish Pasty is known for its sturdy golden crust, savory filling, and distinctive crimped edge.
• Beef skirt steak is the traditional meat used because it remains flavorful during baking.
• Potatoes, swede (rutabaga), and onions form the classic vegetable filling.
• Cut all filling ingredients into small, evenly sized pieces for consistent cooking.
• Traditional Cornish pasties use raw filling ingredients that cook inside the pastry.
• Season the filling generously with salt and black pepper.
• Shortcrust pastry is the traditional choice because it is sturdy enough to hold the filling.
• Keep the pastry cool while working to maintain a tender texture.
• Avoid overfilling to ensure the pastry seals properly.
• The crimped edge is a signature feature and helps keep the juices inside.
• Brush with egg wash for a golden, glossy finish.
• Bake until the pastry is deeply golden and the filling is fully cooked.
• Allow the pasty to rest briefly before serving because the filling will be very hot.
• The flavor should balance tender beef, hearty vegetables, rich pastry, and simple seasoning.
• Cornish Pasties originated in Cornwall and were traditionally carried by miners as a complete meal.
Cornish Pasties Recipe Storage TIps
Cornish Pasties Storage Tips
• Allow the pasties to cool completely before storing.
• Store refrigerated in airtight containers to preserve freshness.
• Refrigeration may soften the pastry slightly, which is normal.
• Reheat in the oven to help restore the crust’s crispness.
• Avoid microwaving if possible because the pastry may become soft.
• Store individual pasties separately if convenient for reheating.
• Beef and vegetable flavors often deepen after overnight refrigeration.
• Freeze baked or unbaked pasties in airtight freezer-safe wrapping if desired.
• Separate pasties with parchment paper before freezing to prevent sticking.
• Defrost frozen pasties gradually in the refrigerator before reheating or baking.
• Use clean utensils when handling leftovers to help maintain freshness.
• Meat-filled pastries are generally best enjoyed within a shorter refrigerated storage period for ideal quality and safety.
• Keep away from strongly scented foods because pastry readily absorbs odors.
• Slight softening of the crust during storage is normal.
• Discard leftovers if the filling or pastry develops sour odors, slime, mold, or unusual discoloration.
Cornish Pasties Recipe
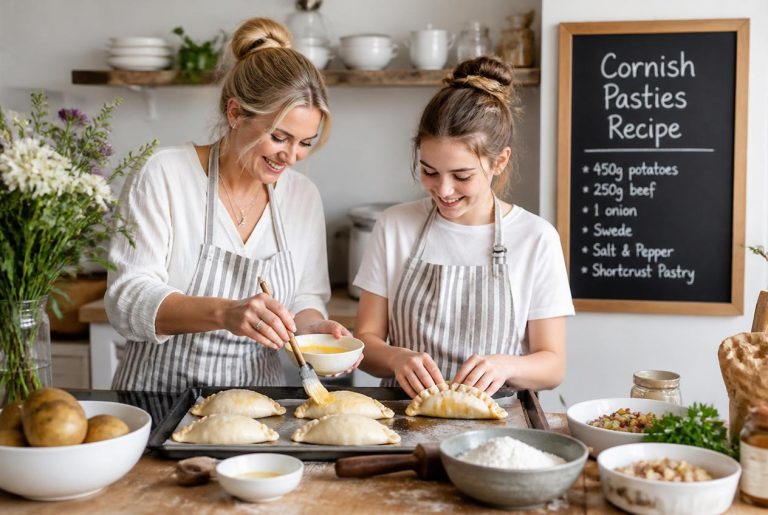
Ingredients
- 3 1/2 cups all-purpose flour or bread flour I make mine with all-purpose flour
- 1 teaspoon salt
- 5 ounces unsalted butter very cold, diced
- 5 ounces lard very cold (can substitute butter but lard makes the flakiest crust)
- How to Render Lard click link to learn how to make it yourself. It's super easy and much cheaper than store-bought!
- 2/3 cup ice cold water
- 1 pound beef skirt steak or sirloin cut into small cubes
- 1 pound firm waxy potato (e.g. Yukon Gold) , peeled and diced in 1/4 inch cubes, or thinly sliced according to preference (**starchy potatoes will disintegrate and turn mushy so be sure to use a firm, waxy potato that will hold its shape)
- 8 ounces rutabaga peeled and diced in 1/4 inch cubes, or thinly sliced according to preference
- 7 ounces yellow onion chopped
- salt and pepper to taste
- unsalted butter for cutting in slices to lay inside the pasties
- all-purpose flour for sprinkling inside the pasties
- 1 large egg lightly beaten
Instructions
- Place the flour and salt into the bowl of a food processor and pulse several times until evenly combined. Add the cold butter and lard, then pulse again until the mixture resembles coarse breadcrumbs with small pieces of fat distributed throughout. These pieces of butter and lard are what create the flaky texture in the finished pastry, so avoid overprocessing.
- With the processor running in short bursts, gradually add the cold water a little at a time. Pulse between additions just until the mixture begins to come together. Stop mixing as soon as the dough starts forming clumps. Overworking the dough will develop too much gluten and result in a tough crust rather than a light, flaky pastry.
- Turn the dough out onto a work surface and gently bring it together into a ball. Wrap it tightly in plastic wrap and refrigerate for at least 3 hours. This chilling period is essential because it allows the gluten to relax and the fats to firm up, making the pastry easier to roll and improving its texture during baking. The dough can be refrigerated for several days or frozen for up to 3 months if prepared in advance.
- Preheat the oven to 350°F (175°C). Once the pastry has chilled thoroughly, remove it from the refrigerator and divide it into 6 equal portions. Rolling the dough into a log before cutting can make portioning easier and more uniform.
- Keep the unused portions wrapped and refrigerated while working with one piece at a time. Cold pastry is much easier to handle and less likely to become sticky.
- On a lightly floured surface, roll one portion of dough into an 8-inch circle approximately ⅛ inch thick. For a perfectly round shape, place an 8-inch plate over the dough and trim around it with a knife.
- Arrange the filling in layers down the center of the pastry circle, leaving about ¾ inch of space at both the top and bottom edges. Begin with a layer of potatoes, seasoning lightly with salt and pepper. Add a layer of rutabagas, followed by onions, and finally the beef. Sprinkle a small amount of salt and pepper between each layer to ensure every ingredient is properly seasoned.
- Place a couple of small pats of butter on top of the beef and finish with a light dusting of flour. The butter adds richness while the flour helps thicken the flavorful juices released during baking.
- Lightly moisten the outer edges of the pastry with water using your fingertips. This helps create a secure seal.
- Carefully bring the two sides of the pastry together over the filling and pinch them firmly down the center. Work gently to avoid puncturing the dough with the filling. If a tear occurs, simply patch it with a small piece of leftover pastry.
- Once sealed, turn the pasty slightly onto its side and crimp the edge by folding and pinching along the seam. This traditional Cornish crimp not only creates the classic appearance but also helps keep the filling securely enclosed during baking.
- Repeat the rolling, filling, and crimping process with the remaining portions of dough. Arrange the finished pasties on a parchment-lined baking sheet, leaving a little space between each one.
- Using a sharp knife, cut a small slit in the top of each pasty. This vent allows steam to escape during baking and helps prevent the pastry from bursting. Brush the entire surface of each pasty with the beaten egg wash to promote a rich golden-brown finish.
- Place the baking sheet on the center rack of the preheated oven and bake for 40–50 minutes. The pasties are ready when the pastry is beautifully golden brown and crisp and the filling inside is fully cooked and tender.
- As they bake, the juices from the meat and vegetables will mingle with the butter and seasonings, creating the rich, savory filling that makes Cornish pasties so beloved.
- Remove the pasties from the oven and allow them to rest for about 10 minutes before serving. The filling will be extremely hot immediately after baking, and the resting period allows the juices to settle and the interior temperature to become more comfortable for eating.
- Serve warm on their own or alongside a simple salad, pickles, or vegetables. The sturdy pastry and hearty filling make Cornish pasties an excellent meal for lunch, dinner, or packed meals.
- Leftover pasties can be stored in the refrigerator and reheated when needed. For the crispiest crust, reheat them in the oven until warmed through. They can also be reheated in the microwave for convenience, though the pastry will be softer. Either method will restore the rich flavors and make them just as satisfying as when freshly baked.
Cornish Pasties Recipe Frequently Asked Questions
I get a lot of questions about making Cornish Pasties recipe filling, pastry choices, crimping, baking times, freezing, and beginner-friendly steps. Here are some quick answers you can use right away.
What’s the best way to make a classic Cornish pasty filling?
I use a 50:25:25 ratio for the Cornish Pasties recipe—beef, potato, and swede (rutabaga) by weight. For one pasty, that’s about 150 g beef skirt or chuck, 75 g peeled waxy potato, and 75 g swede, all diced small.
For seasoning, I keep it basic: 1/4 teaspoon salt, black pepper, and a small onion finely chopped for every four pasties. Mixing everything raw lets the meat juices cook the veg and make a bit of gravy inside the pastry—so good.
Can I use puff pastry instead of shortcrust for Cornish pasties?
Sure, but puff pastry makes a lighter, flakier crust and changes the texture. Shortcrust is sturdier and holds up better, which is what you want for a classic Cornish Pasties recipe.
If you go with puff, chill the filled pasties before baking so the layers puff up and the filling stays put. It’s tasty, just a different vibe.
How do I crimp Cornish pasties so they don’t split in the oven?
I press the edges together with my fingers, then fold the rim over and crimp firmly along the length with my thumb and forefinger. Keep the dough even—too thin and it’ll split, too thick and it won’t seal well.
Brush the seam with beaten egg before baking for a good seal and a golden look. If your filling’s wet, chill the Cornish Pasties recipe for 15–30 minutes before baking to firm up the pastry.
What temperature and how long should Cornish pasties bake for?
I bake Cornish Pasties recipe at 200°C (400°F) for 30–40 minutes. For frozen ones, go 45–55 minutes at the same temp, and check that the pastry’s deep golden and the meat is cooked through.
Use the middle oven shelf and rotate the tray halfway for even color. If the edges brown too fast, loosely cover them with foil.
Can I make Cornish pasties ahead of time and freeze them?
Definitely. I assemble the Cornish Pasties recipe, chill them on a tray until firm, then freeze. Once solid, I bag them up and freeze for up to three months.
Bake straight from frozen—just add 10–15 minutes to the baking time. Look for a deep golden crust and make sure the filling’s hot. I wouldn’t thaw before baking; you’ll get a better texture straight from frozen.
For more Cornish Pasties recipe inspiration, you might want to check out BBC Good Food’s take, Jamie Oliver’s version, or this Delish guide. If you’re looking for community tips, Reddit’s r/AskCulinary has some lively debates on the best Cornish Pasties recipe tricks.
What’s an easy Cornish pasty recipe for beginners to follow?
If you’re just starting out, the Cornish Pasties recipe I always turn to uses ready-made shortcrust pastry—honestly, it saves a ton of hassle. For four pasties, grab about 150g diced beef, 75g diced potato, 75g diced swede, and a quarter of a chopped onion for each one. Season everything with salt and pepper, then pile the filling onto your pastry circles. Fold, crimp, and you’re good to go. If you’re curious about the classic approach, this Cornish Pasties recipe really spells it out.
Skip blind-baking—there’s no need. Chill the shaped Cornish pasties recipe for 15 minutes so they hold their shape. Brush them with beaten egg for that shiny finish, then bake at 200°C (400°F) for about 30–40 minutes, or until they look golden and irresistible. If you’re more of a visual learner, check out a quick guide like this BBC Good Food Cornish Pasties recipe or dive into a detailed walk-through on Delish’s Cornish Pasties recipe.
Honestly, the Cornish Pasties recipe is all about the right ratio of beef to veggies, and not overthinking the crimping. If you want to experiment, some folks swap swede for carrot, or add a dash of Worcestershire sauce. For more tips, try this Jamie Oliver Cornish Pasties recipe or explore the Cornish Pasty Association’s Cornish Pasties recipe page. There are so many ways to make it your own—just don’t be afraid to try, even if your first Cornish Pasties recipe isn’t picture-perfect.

Recipes are gathered in person and written for real-world cooking conditions.
- 10 Hungarian Dessert Recipes Passed Down Through Generations - July 25, 2026
- 11 Easy English Recipes Anyone Can Make - July 25, 2026
- Hungarian Kifli Recipe - July 25, 2026